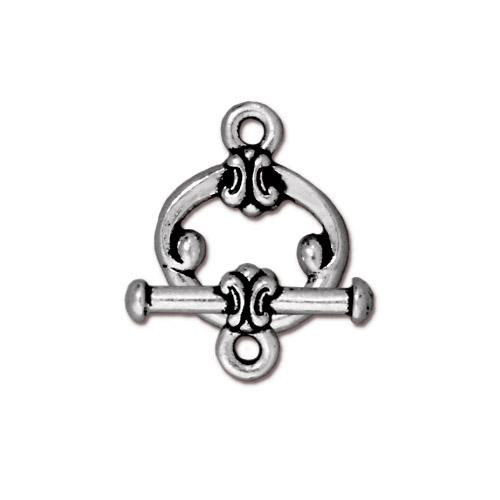
Design Inspiration Supplies
Design Instructions
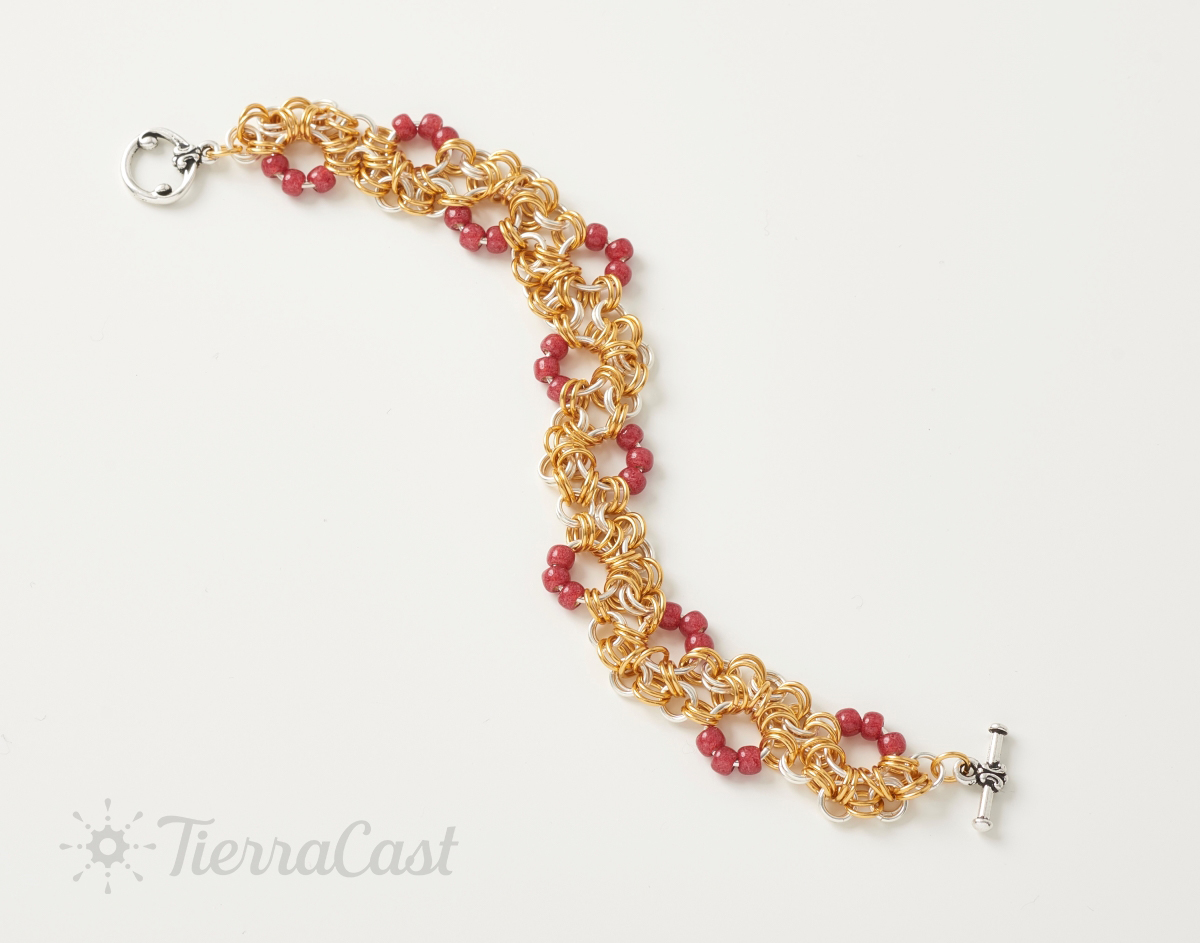
Supplies needed
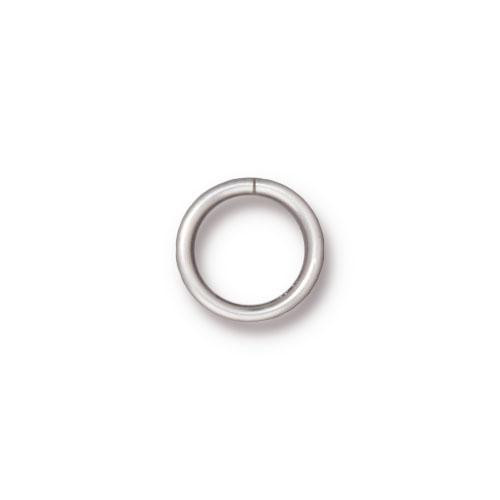
- 10 Round Jump Ring 18 Gauge, 8mm ID (01-0026-01)
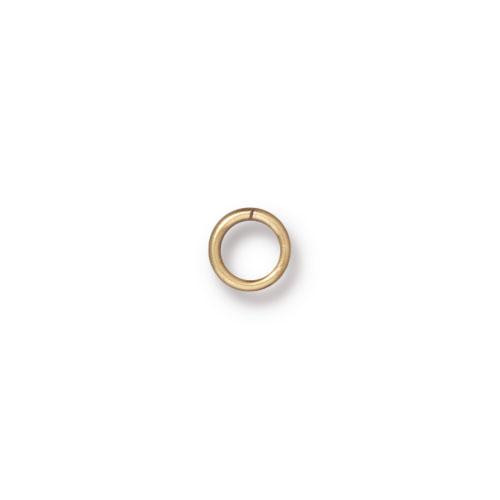
- 64 Round Jump Ring 20 Gauge, 4mm ID (01-0024-01)
- 146 Round Jump Ring 20 Gauge, 4mm ID (01-0024-09)
- 30 Size 6 Seed Beads
Tools
- chain or flat nose pliers
- bent nose pliers
Skill Level: Beginner
Finished Size: Approx. 7 1/2”
Designer: Tracy Proctor
Download the Berrylicious Chainmaille Bracelet PDF
Watch the Demo Video: Berrylicious Chainmaille Bracelet Jewelry Making Demo
Variation: Rainbow palette from demo video -
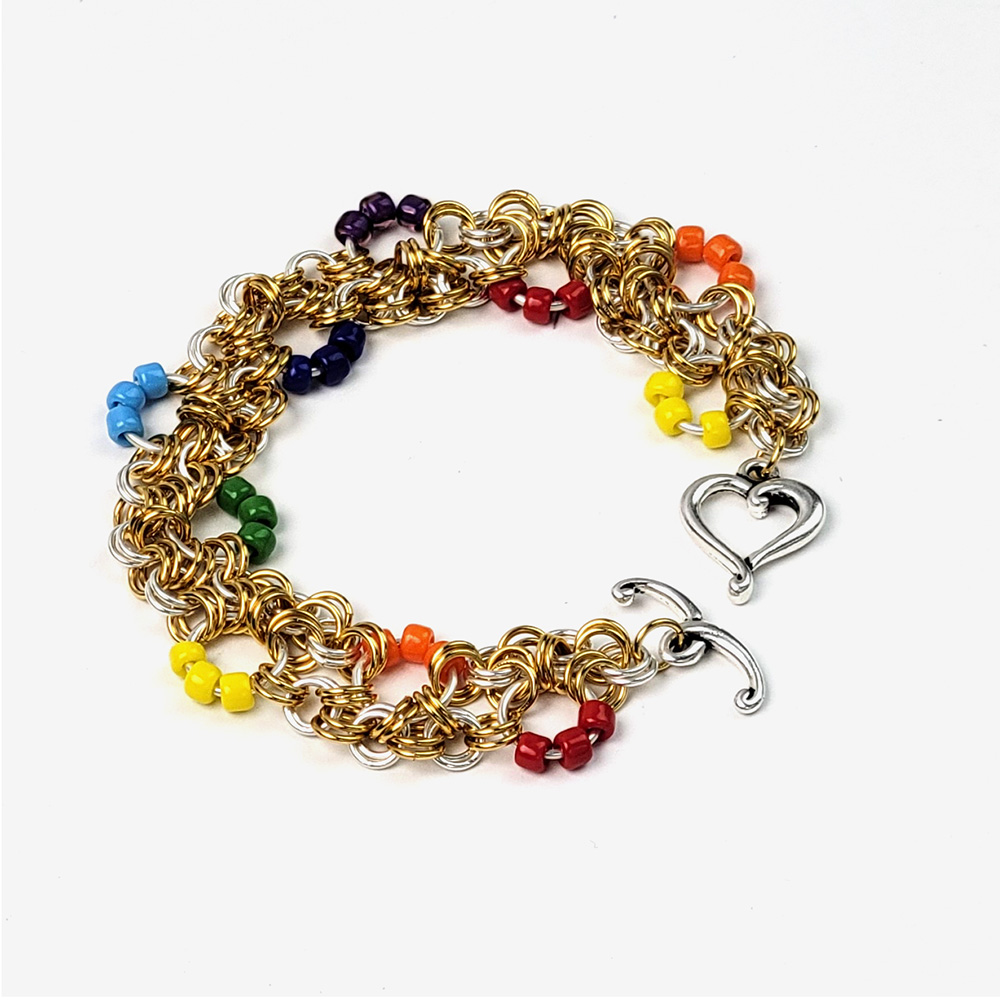
Watch our technique videos on the TierraCast Blog (look for Jump Rings). Credit to Simon Livingston of Chainmail101.com for images and step content for this pattern. Visit chainmail101.com/stepping-stones for his original Stepping Stones Weave tutorial.
Tips:
- For this design all of the flat (horizontal) jump rings are silver, and the upright (vertical) jump rings are gold.
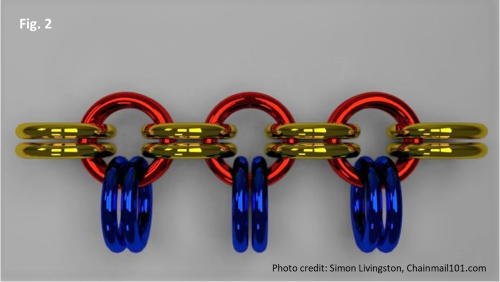
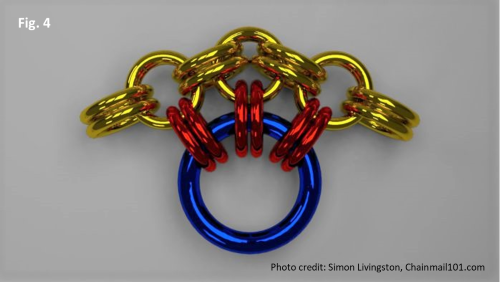
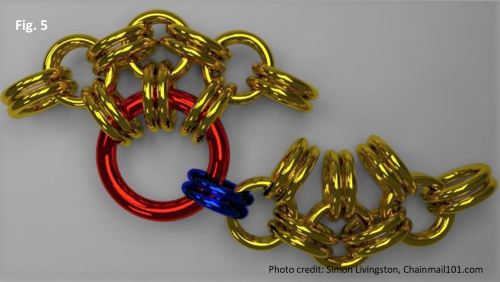
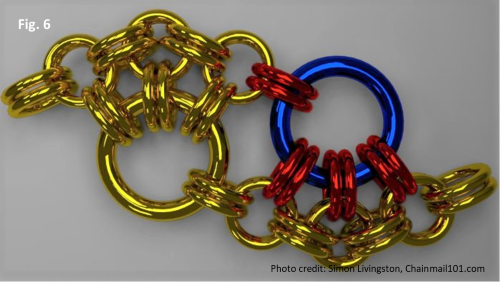
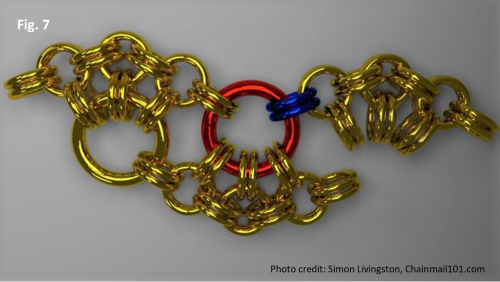
- In the Figure images the jump rings highlighted blue are the "working" rings, jump rings highlighted red are the "receiving" rings.
- Take care to close your jump rings closely and well aligned to prevent scratchy edges.
Steps
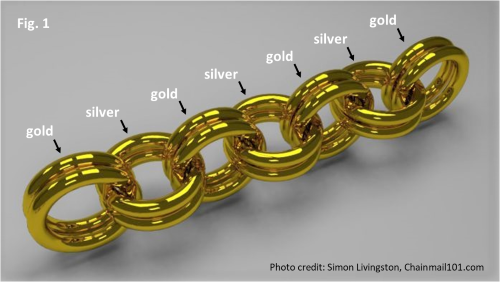
1. Chainmaille pattern: Close 2 silver 4mm jump rings securely, then attach 4 gold jump rings to the 2 silver – this is a 4-in-2 chainmaille segment. Continuing the pattern add 2 silver, 2 gold, 2 silver and 2 gold, making a 4-in-2 chain 7 segments long. (Fig 1)
2. Connect 2 gold rings (blue) each to the 3 pairs of silver rings (red). (Fig 2)
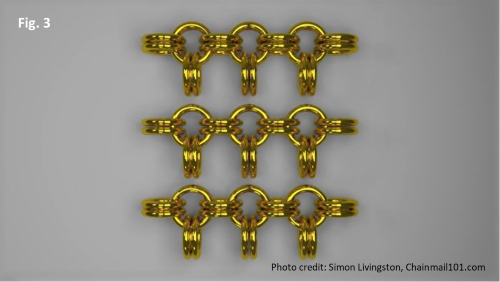
3. Repeat Steps 1-2 for a total of 10 units. (Fig 3)
4. Open a large silver ring (blue) and put it through the 6 rings (red) that were put on a unit in Step 3. Keep the large ring open. (Fig 4)
5. Put the 2 rings making up one end of a second unit (blue) onto the large ring (red), and close the ring. Make sure this second unit is facing the opposite way of the first unit. (Fig 5)
6. Put a large ring (blue) through the pair of rings making up the end of the first unit, and the 3 middle pairs of rings of the second unit (red). Leave it open. (Fig 6)
7. Connect the end of a third unit (blue) to the large ring (red), and close the large ring. (Fig 7)
8. Repeat Steps 6-7 eight more times.
9. Adding seed bead embellishments: beginning with first unit at one end of bracelet carefully open large jump ring and string on 3 seed beads. Close jump ring.
10. Repeat to end of bracelet.
11. Adding clasp: Open 1 gold jump ring and attach to silver pair at one end of bracelet. Before closing add clasp ring. Close jump ring.
12. Repeat Step 11 at other end to attach clasp bar.
