Design Inspiration Supplies
Design Instructions

Supplies needed (for 7" bracelet)
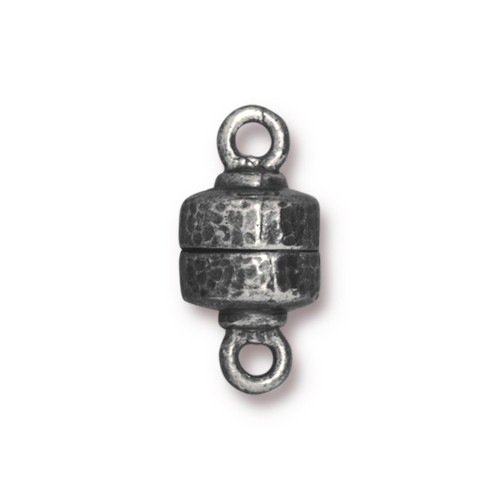
- 1 Hammertone Magnetic Clasp (94-6246-40)
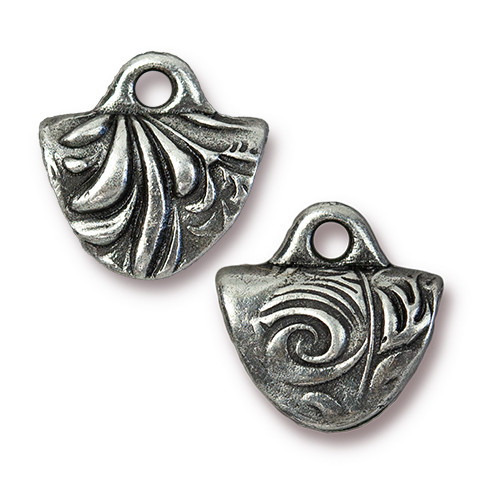
- 2 Jardin Crimp End (94-3246-40)
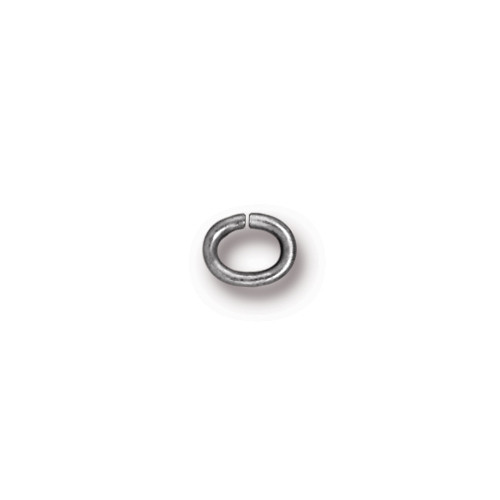
- 2 Oval Jump Ring 19g, 4x3mm ID (01-0018-70)
- 44 Gemstone 4mm Faceted Cube bead, Pink Tourmaline shown (A)
- 66 Gemstone 4mm Faceted Cube bead, Labradorite shown (B)
- Size 11 round seed beads, teal color (C)
- Size 8 round seed beads, to match size 11s or gray/neutral color (D)
-
Preferred Beading Thread (Wildfire 6lb Black shown)
- Hypo Cement or E6000 adhesive
Tools
- thread cutters
- beading needle
- beading mat
- toothpick or pin for adhesive (optional)
Skill Level: Beginner/Intermediate
Finished Size: Approx. 7”
Designer: Tracy Proctor
Coming soon - Download the Jardin Right Angle Weave Bracelet PDF

Tips:
- This project assumes basic beadweaving experience. Right Angle Weave tutorials are plentiful - we like Deb Roberti's at Aroundthebeadingtable.com/Tutorials/RightAngleWeave.html. (shared with permission) When you need to add thread, see Deb’s AddThread tutorial.
- As you go through the pattern you will find that you are stitching each ring of beads in the opposite direction from the previous ring. Keep firm thread tension throughout, making sure there is no slack in the rings.
- Option: you can skip the size 8 seed bead end pieces and attach the crimp ends directly to the RAW work, but it will cover up a few of the gemstone beads.
- Allow 2” for the clasp and crimp ends. Be sure and figure that in when doing the math for bracelet length.
Steps
- Cut a wingspan of thread and thread your needle, allowing a 6" tail.
- Row 1: Pick up 1 A, 1 C, 1 B, 1 C, 1 A, 1 C, 1 B and 1 C and move all beads towards end of thread, leaving a 6" tail. Tie threads together in a double or square knot to form a ring of beads. (Fig 1)

- Stitch through 1 A, 1 C, 1 B, 1 C, 1 A and 1 C . (Fig 2)

- Pick up 1 B, 1 C, 1 A, 1 C, and 1 B, then stitch through 1 C, 1 A, and 1 B from previous ring of beads, then continue through B, C, A and C to form 2nd ring. (Fig 3)

- Repeat Step 4 nineteen times (or to desired length).
- Row 2: Pick up 1 C, 1 A, 1 C, 1 B, 1 C, 1 A, and 1 C, then stitch up through next B bead, around ring again, then down through next B. (Fig 4)

- Pick up 1 C, 1 A, 1 C, and 1 B, then stitch through C, A, and C of previous ring, down through next B, and through C, A, and C to complete second ring of Row 2. (Fig 5)

- Pick up 1 B, 1 C, 1 A, and 1 C, then stitch up through next B, through CAC of previous ring, down through B, C, A, and C, and down through next B.
- Repeat Steps 7-8 to end of bracelet.
- Weave in, knot, and trim threads at both ends.
- End pieces: Restring needle, then weave into bracelet near one end to exit between A and C beads at top. (Fig 6)

- Pick up 3 C and 1 D, then loop through the same A and through beads again to exit D. (Fig 7)

- Pick up 1 D and stitch through the adjacent C beads and through D again. (Fig 8)

- Pick up 1 D and 3 Cs, then stitch through second A , 2 Ds and 1 C. (Fig 9)

- Stitch over C, through D, then pick up 1 D and stitch through next D and C. (Fig 10)

- Pick up 1 D, stitch through next D, pick up 1 D, then stitch back through C and across to exit opposite C. (Fig 11)

- Pick up 1 D, stitch through D, pick up 1 D, stitch through next D, pick up 1 D, then stitch down through C and across to exit opposite C. (Fig 12)

- Stitch across top row of beads again, and down through previous rows to firm up beadwork, then weave in and knot before trimming thread.
- Repeat Steps 11-18 at other end.
- Pick up 1 crimp end and adjust opening to fit over end piece. Apply a small amount of adhesive to inside surfaces of crimp end, then tuck end piece of bracelet inside. Carefully squeeze crimp end to adjust fit and allow to dry. Repeat at other end.
- Use 1 jump ring to attach 1 side of the clasp at end of bracelet. Repeat at other end.


