Design Inspiration Supplies
Design Instructions
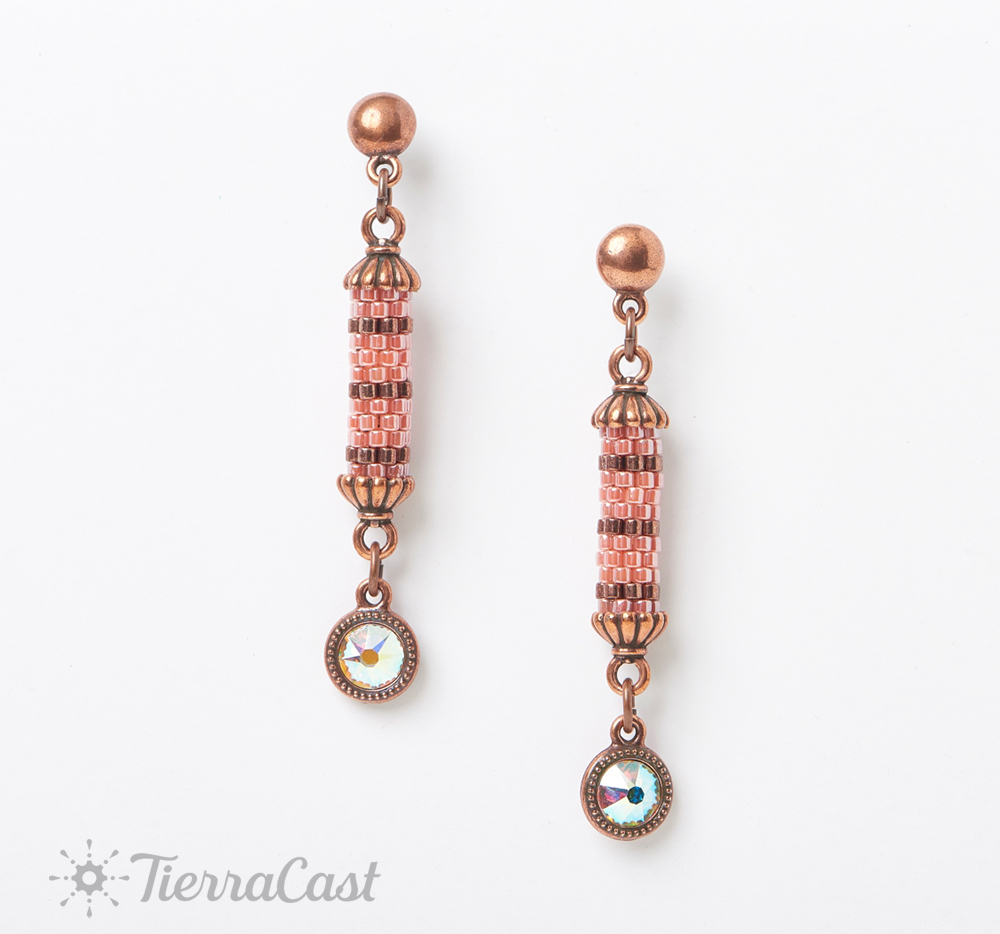
Supplies needed
- 2 Joy Glue-In Beaded Rope Cap, 3mm (94-5848-18)
- 2 Dome Earrings Post (94-1000-18)
- 4 Oval Jump Rings 20 Gauge, 4x3mm ID (01-0018-08)
- 2 SS34 Beaded Bezel Drop (94-2426-18)
- 63 Size 10 Delica Beads in Color DBM-235 (Color A)
- 21 Size 10 Delica Beads in Color DBM-022 (Color B)
- 2 Flatback 2088 SS34 Crystal, Crystal AB
- 4lb Fireline Crystal or other, strong beading thread
- Two-part epoxy, E6000 Glue, or equivalent jeweler’s glue
Tools
- thread cutters
- beading needle
- chain and/or flat nose pliers (2)
- beading mat
- toothpick
- thread burner (optional)
Skill Level: Beginner
Finished Size: Approx. 2 1/2”
Designer: Danielle Wickes
Download the Copper Lantern Earrings PDF
Watch our technique videos on the TierraCast Blog (look for Jump Rings).
Tips
- You can create your own Lantern patterns using the blank template here Peyote Lantern Pattern/Word Chart
- You can substitute size 11/0 round seed beads for the size 10 Delica beads
Steps
1. Following directions for adhesive of choice, use a toothpick to apply a small drop into one SS34 bezel. Insert one flatback crystal onto bezel and press into place. Repeat with second bezel and set aside to dry per product instructions.
2. Thread a needle with 25 inches of Fireline or beading thread. Leaving a 7” tail, pick up (1)A, (1)B, (3)A, (1)B, (3)A, (1)B, (2)A. (Refer to Peyote Pattern Word Chart)
3. Pick up 1(A). Skipping the last bead strung in step 1, go through the next bead, heading in the direction of the tail. Pick up 1(B), skip a bead, and go through the next bead added in Step 1. Pick up (1)A, skip a bead, go through the next bead. Repeat this step with (1)B, then (1)A, then (1)B, skipping a bead and going through the next bead to complete the row.
4. Repeat step 2 for the remaining rows, referring to the peyote stitch pattern word chart.
5. Fold the peyote stitch piece you have created into a tube shape. (Fig 1)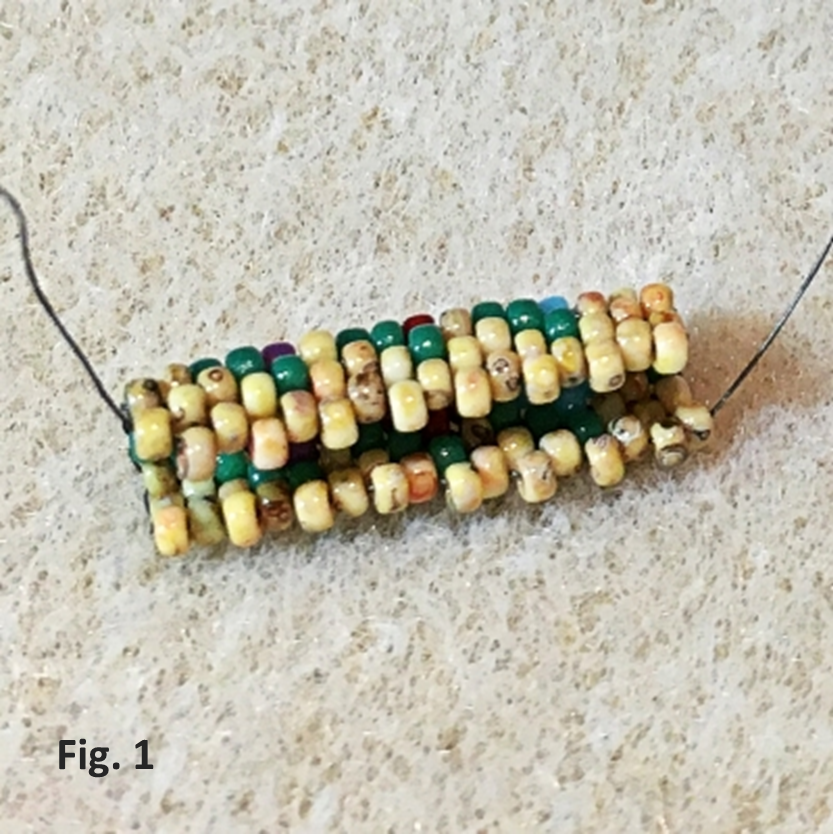
6. With your working thread, go through the corresponding up bead on the other side of the piece. (Fig 2)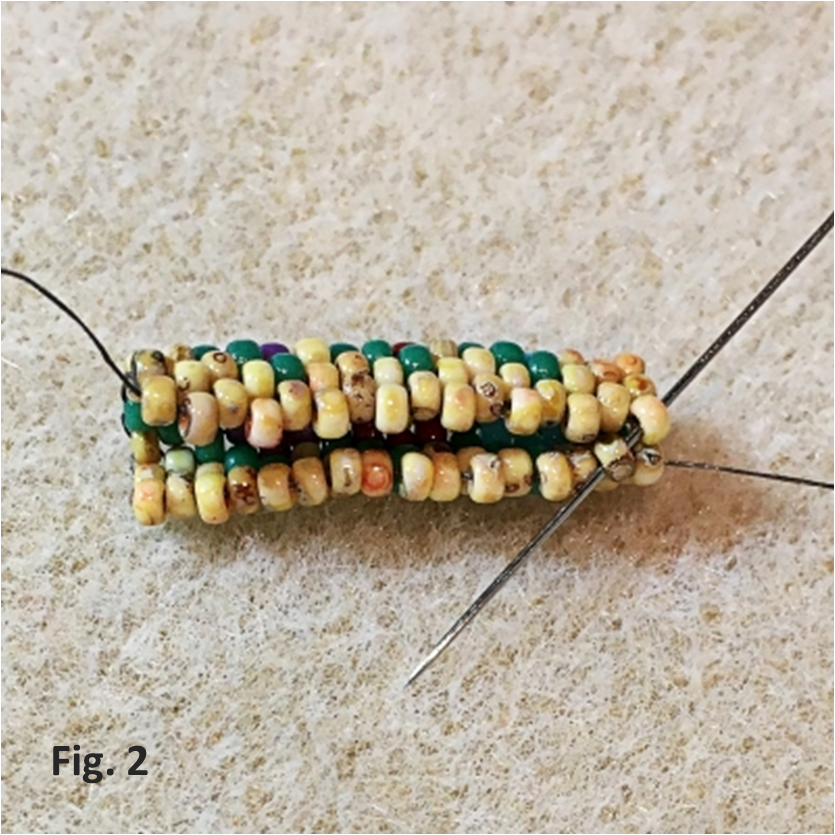
7. Continue to go through the up beads to zip the piece into a tube shape. (Fig 3)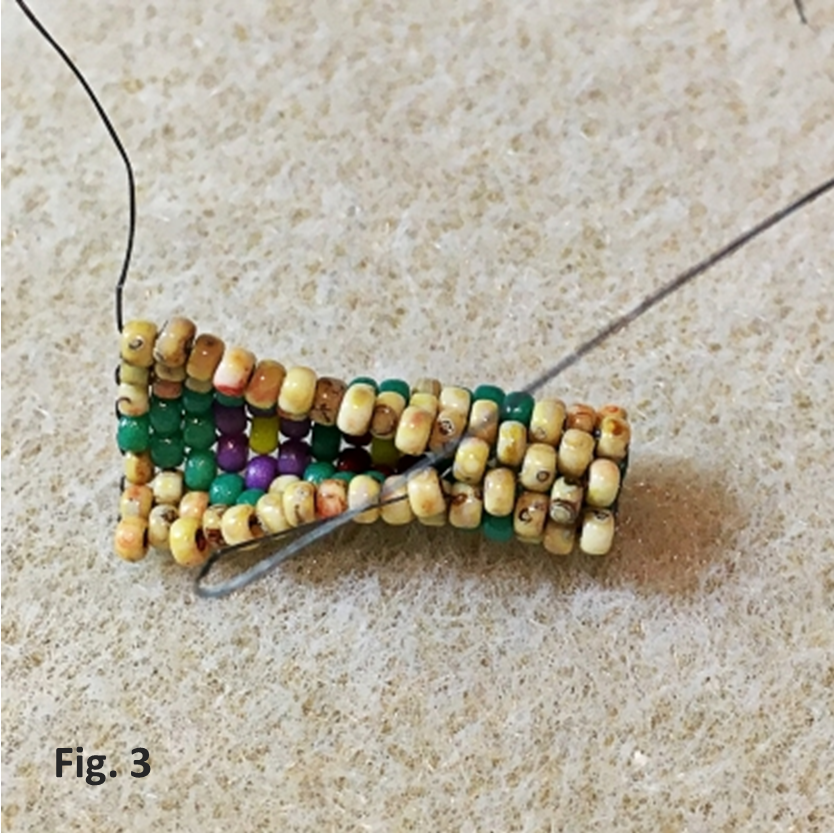
8. Turn and weave working and tail threads back into the piece by following the thread path. (Fig 4)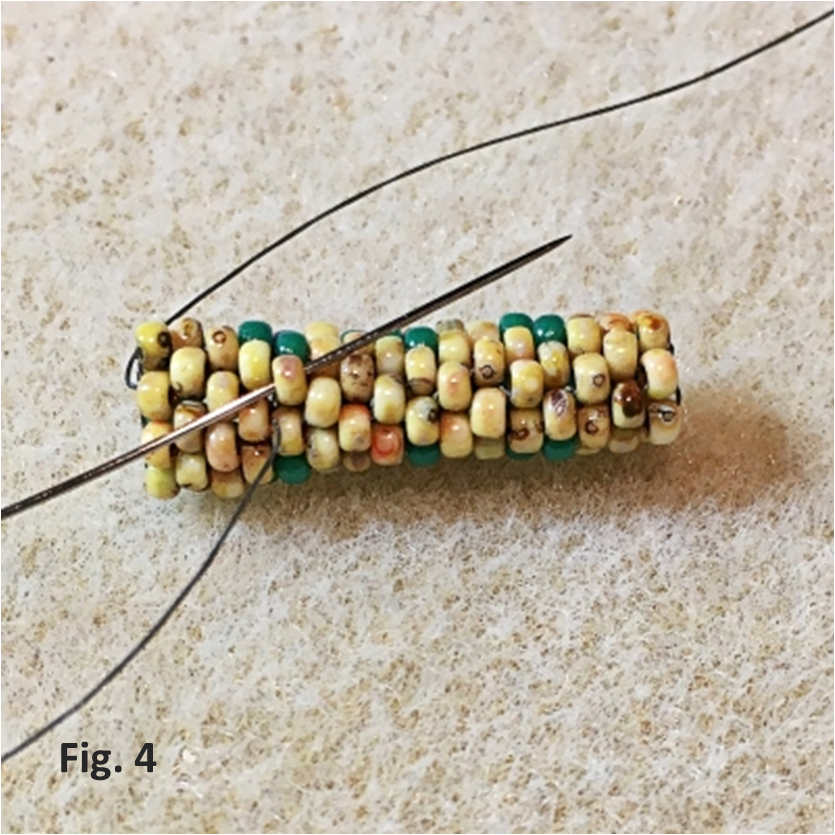
9. Trim or burn thread ends.
10. Place a small amount of glue onto each end peg and insert them into the tube (Fig 5 and Fig 6)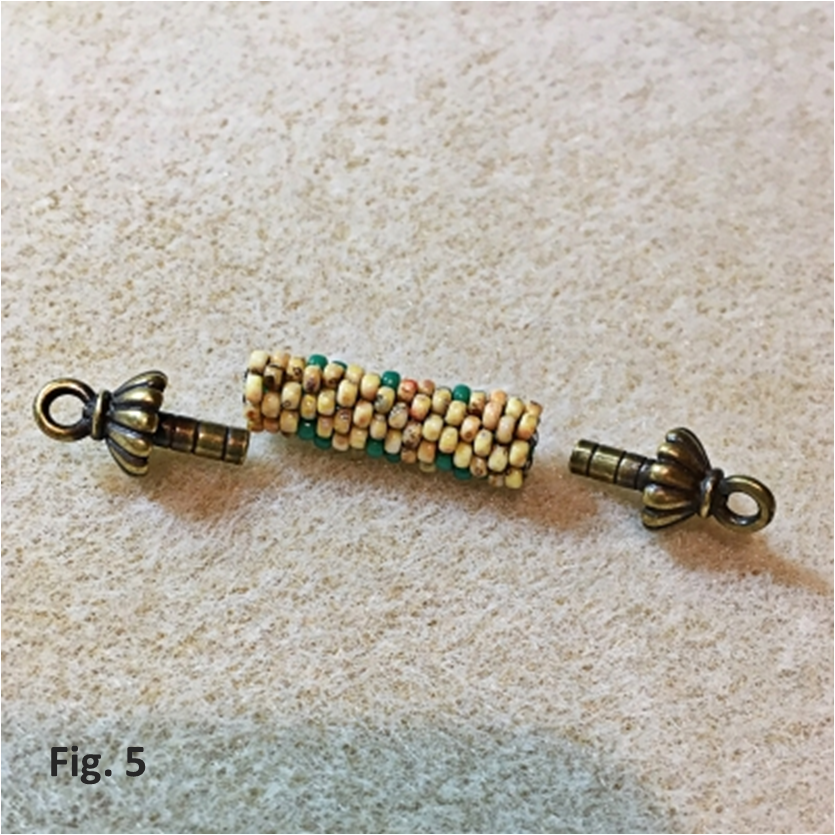
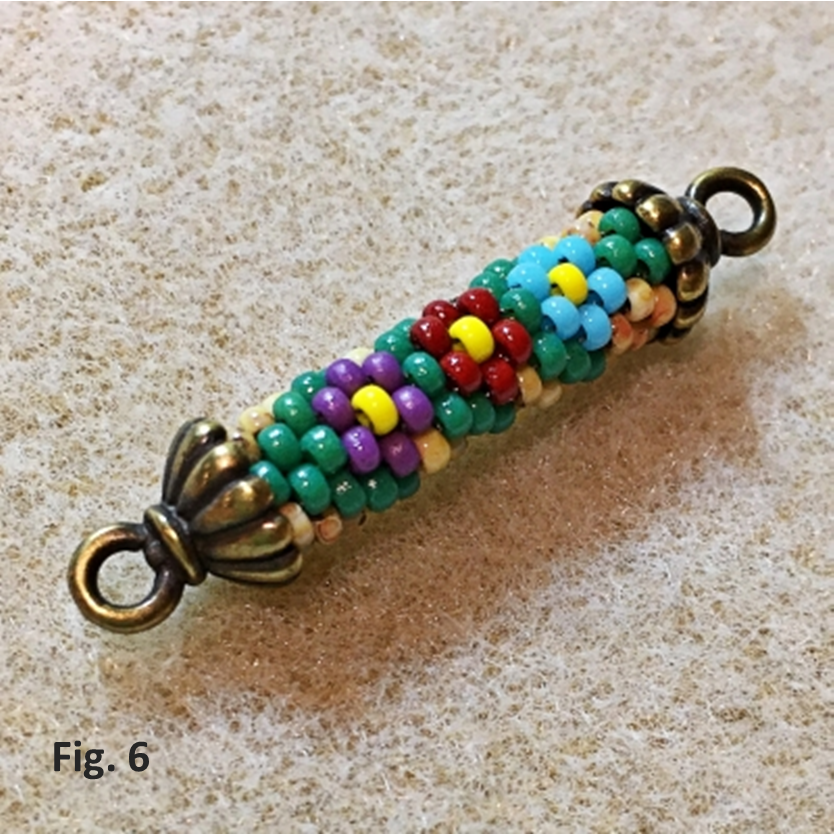
11. Allow to cure per product instructions.
12. Open an oval jump ring and attach the earring post to the top of the 3mm end peg.
13. Open an oval jump ring and attach the charm to the bottom 3mm end peg.
14. Repeat for second earring.


