Design Inspiration Supplies
Design Instructions
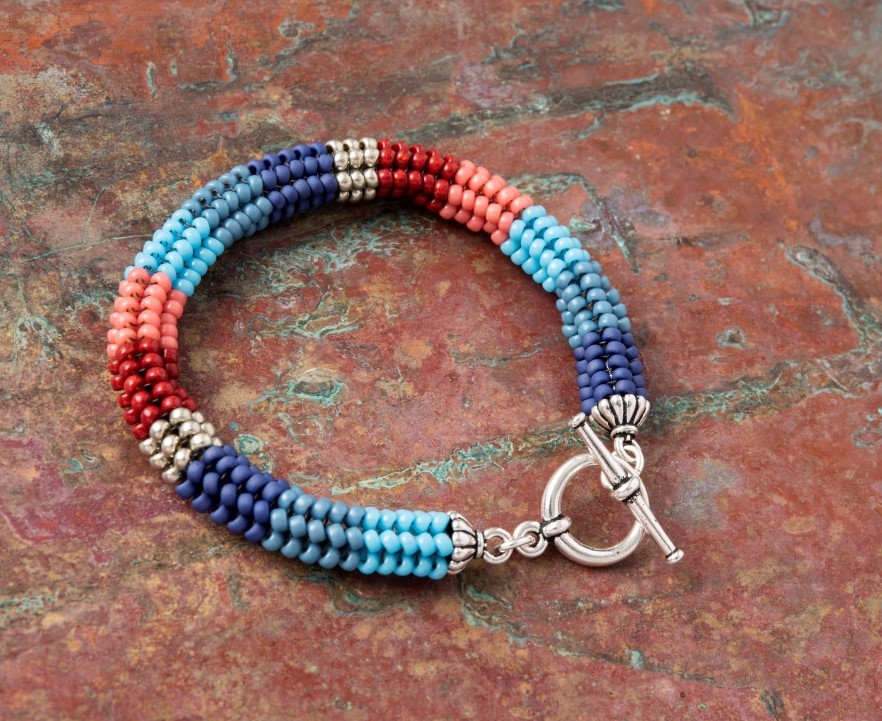
Supplies needed
- 2 Joy Glue-in Beaded Rope Cap (94-5848-12)
- 1 Tapered Clasp (94-6067-12)
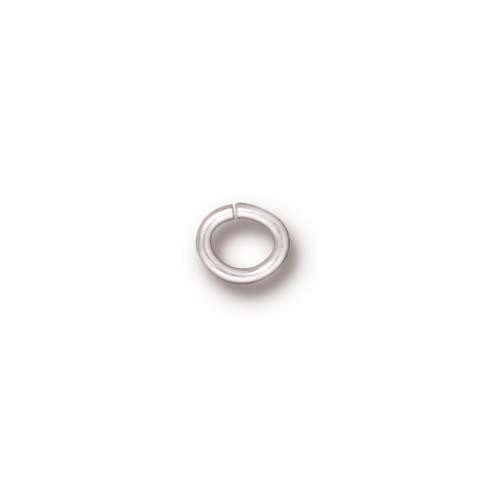
- 3 Oval Jump Rings 20ga 4x3mm (01-0018-01)
- Miyuki Size 8 Seed Beads in colors 8-413, 8-4482, 8-2075, 8-4221, 8-1236, 8-4464
- Fireline 8lb
- E6000 Adhesive
Tools
- thread cutters
- beading needle
- chain and/or flat nose pliers (2)
- Wonder Clips or clothes pins
- Optional: thread burner
Skill Level: Intermediate
Finished Size: Approx. 8”
Designer: Danielle Wickes
Download the Danielle's Herringbone Bracelet PDF
Bead Pattern:

Watch our technique videos on the TierraCast Blog (look for Jump Rings).
Tip: This project assumes some bead weaving experience. Begin by laddering the first two rows together, joinging them, then tightening around the peg component.
Steps
1. Thread needle with 36" of Fireline. Pick up 4 Color A beads and sew back up through first 2 beads, leaving a 10-inch tail.
Photo 1

2. Add 2 A beads and sew back up through 2 beads just exited. Sew back down through 2 beads just added.
Photo 2

3. Add another 2 A beads and sew up through the last 2 exited. Continue until you have six stacks of 2 beads.
Photo 3

4. Join these together by sewing back up through the first column of 2 beads added. Sew down through the last column, forming a ring.
Photo 4

5. Slide the ring of beads onto the 3mm peg and pull on working thread and tail to tighten.
Photo 5

6. Build Row 3 on the peg by picking up 2 A beads and sewing down into the next bead from the one the thread is exiting.
Photo 6

7. Sew up through the next bead.
Photo 7

8. Repeat Step 6 twice, then step up through the first bead from this row.
Photo 8

Note: Building the ring and first rows on the peg helps achieve the tension and tight fit that will allow for successful gluing. It also helps with getting the top beads (the ones that will sit under the cap) to be flat, as the top row in herringbone when pulled too tight can sometimes cause the top row of beads to bow in towards each other.
9. Complete 2 or more rows. If stitches feel loose after this step, weave around once more to tighten. Optional: If you prefer to glue both ends when bracelet is complete, skip to Step 11.
Photo 9
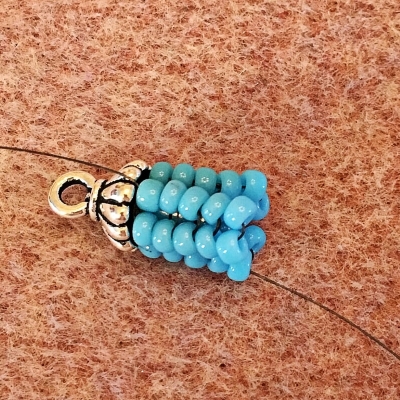
10. At this point, you could glue this end of the bracelet and set it aside to dry. To do this, move rope down a bit, add glue to peg and underside of cap, then slide the rope back into place under cap. Tighten up if needed by gently pulling the tail thread and working thread. Clip to hold the position while curing. Once dry, snip or burn tail.
Photo 9b
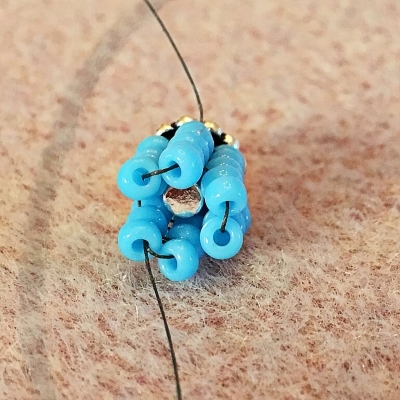
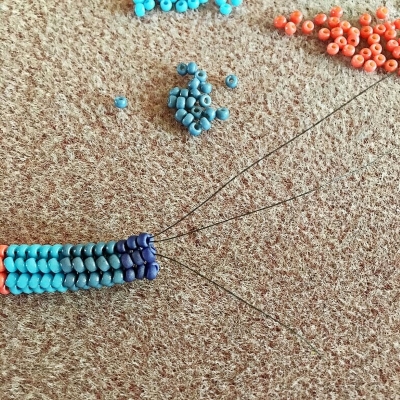
11. Continue building the rows of the bracelet as described in Steps 6-8, following the Bead Pattern. Add additional thread as necessary. (See Danielle's Note at end.)
12. When you reach the final row use the other 3mm peg as a tension guide by inserting the peg and completing the last row around it.
Photo 10

Photo 10a
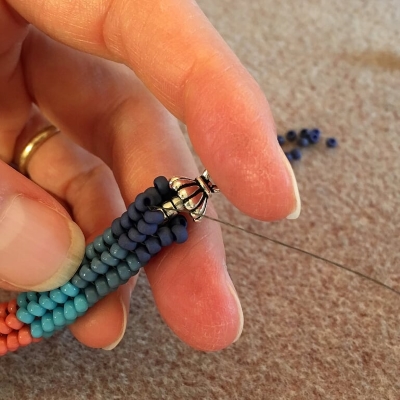
Photo 10b
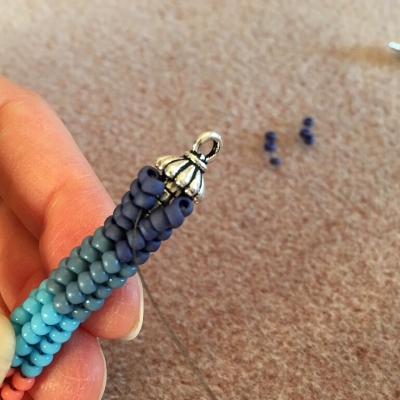
Photo 10c
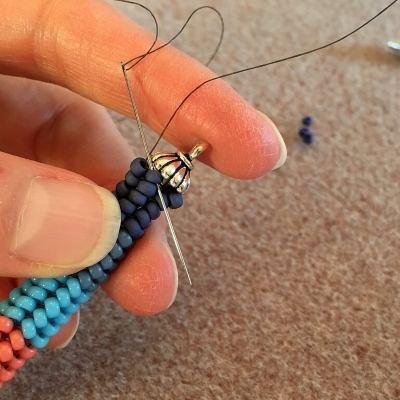
13. To weave in thread, keep the peg inserted and follow stitch path around several times. Move down down 1 row and repeat, then move down and repeat once more. This will tighten up the beads around the peg.
Weaving In 1
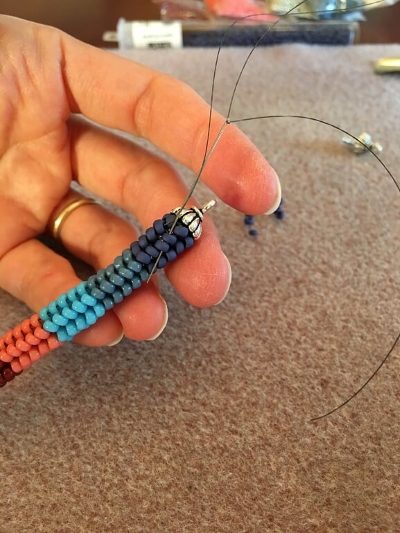
Weaving In 2
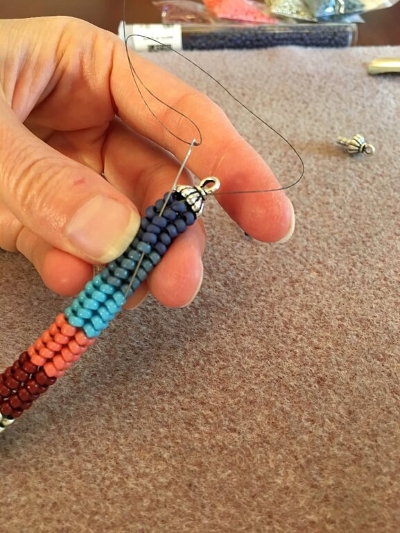
Weaving In 3
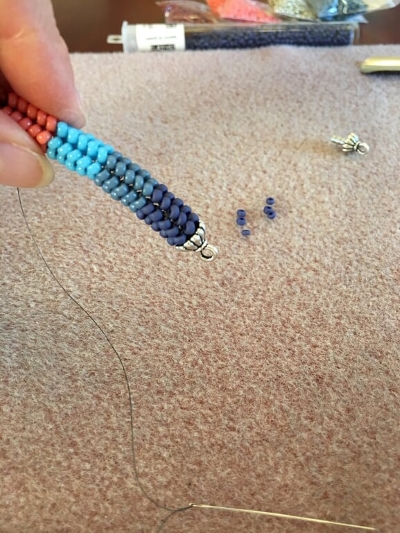
14. Remove peg and repeat Step 10 to glue second cap (or both if applicable). Clamp and allow to dry.
Photo 11

15. Use one jump ring to attach clasp ring at one end of bracelet. Use two jump rings to attach clasp bar to other end.
Note from Danielle on adding thread: If you need to add thread, here is one way you can do it that I think is fast, easy, and secure. I’ve gleaned parts of this technique from a few sources and added my own extra step to it, but it is heavily inspired by Emily Miller's (Beadshop.com) technique for adding thread from several of her projects, specifically adding in the new working thread before weaving in the old working thread.
When you start running short on thread, leave enough to work with (at least 6 inches) and then remove your needle. Leave that working thread alone for now. We want it there to remember the spot we left off.
Adding Thread 1
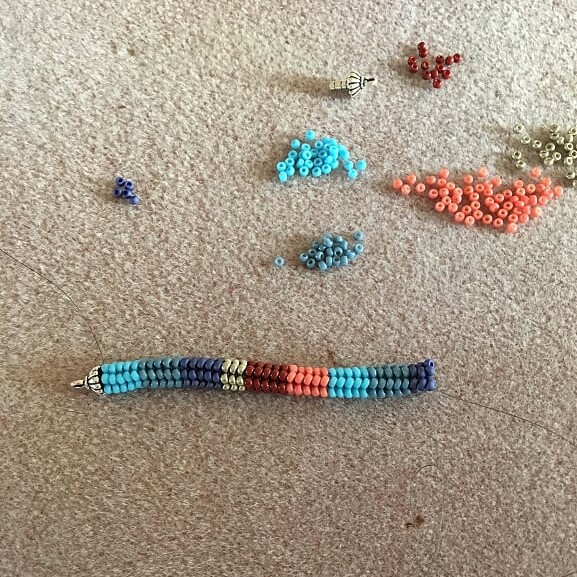
Cut a new strand of thread. Thread it onto your needle and bring it down into the next bead from the one your previous thread was exiting. This is the next step on your thread path.
Adding Thread 2
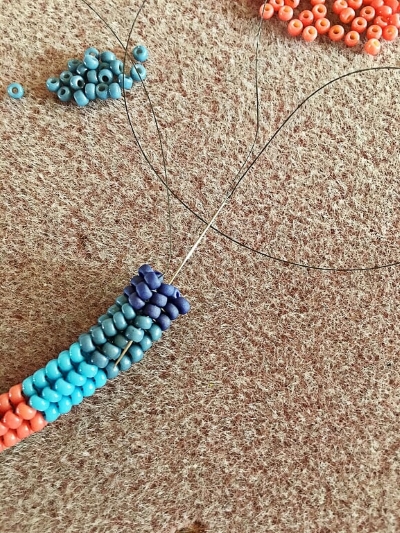
Weave around one time, then down, then around, following the existing thread path until the thread doesn’t move anymore when you pull. Now weave around until you’re just below where you left off with your old working thread. Come up and exit from that same bead. Now your new working thread is in position to take over where the old working thread has left off.
Adding Thread 3
At this point you can snip or burn the tail of the new thread you added. Next, weave in the old working thread, and snip or burn that end.


