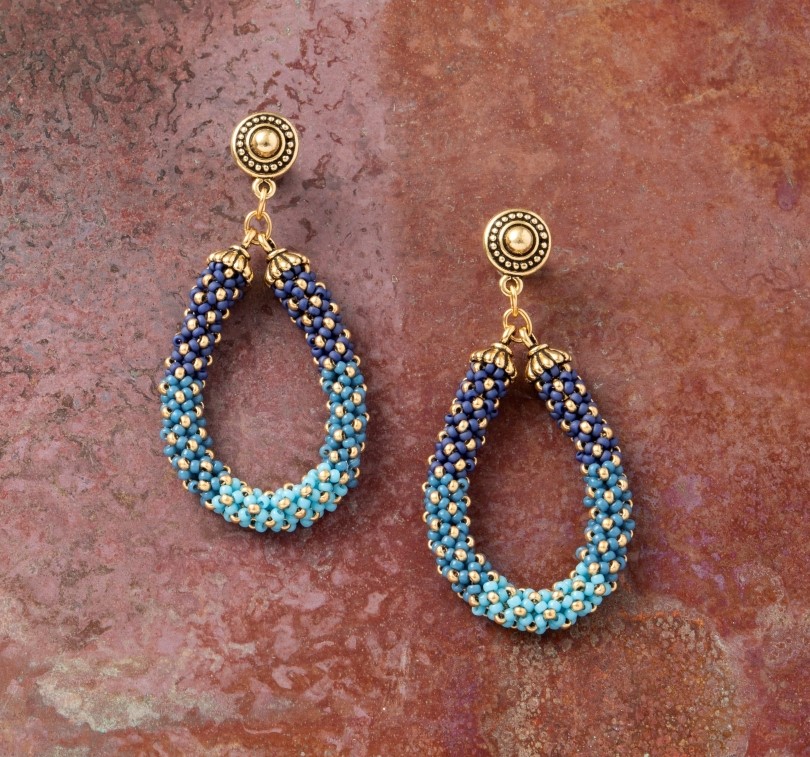
Design Inspiration Supplies
Design Instructions

Supplies needed
- 2 Beaded Earring Post (94-1011-26)
- 4 Joy Glue-in Beaded Rope Cap (94-5848-26)
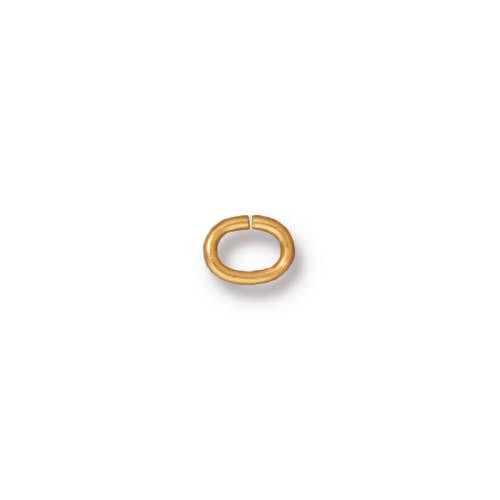
- 4 Oval Jump Ring 20ga 4x3mm (01-0018-09)
- Size 11 round (rocaille) seed beads in a violet (Main - A)
- Size 11 round (rocaille) seed beads in a teal (Main - Ab)
- Size 11 round (rocaille) seed beads in a turquoise (Main - Ac)
- Size 11 round (rocaille) seed beads in gold (Contrast - B)
- Fireline 6 lb or favorite beading thread
- E6000
Tools
- thread cutters
- beading needle
- chain and/or flat nose pliers (2)
- clothes pins or Clover Wonder Clips
- thread burner (optional)
Skill Level: Intermediate
Finished Size: Approx. 3”
Designer: Danielle Wickes
Download the Danielle's Netted Rope Earrings PDF
Guest Designer Bio: Danielle Wickes is an artist and Jewelry Designer based in the Pacific Northwest. She is drawn to all things creative and loves working with seed beads, creating bead weaving patterns, and working with fibers, threads, glass beads, earth stones, wire, and leather. Danielle writes for ABeadedLife.net, where you can find many of her patterns and tutorials as well as articles on jewelry design. She also designs for the Beadshop.com Design Team and teaches jewelry making classes for Workshop Issaquah and Ben Franklin Crafts!
Watch our technique videos on the TierraCast Blog (look for Jump Rings).
Tip: This project recommends basic beadweaving experience. The technique is 3-bead Netting in the Round. Carol Huber Cyphers book Mastering Beadwork contains the instructions that inspired this design.
Steps
- Thread needle with 6 ft of beading thread.
- Pick up two color A beads, 1B, 2A, 1B, 2A, 1B and then sew back through all the beads twice to form a ring being sure to exit a color B, leaving a 4" tail. Place ring onto the peg of one Beaded Rope Cap to check for fit. (If preferred, continue to work on the peg for the first few rounds.)
- Step up through the first color B added. *Add 1A, 1B, 1A, then sew through the next B*. Repeat * through * twice more to complete round.
- Step up through the next color A and B. *Add 1A, 1B, and 1A, then sew through the next B*. Repeat * through * twice more to complete round.
- Repeat Step 4 for seven more rounds. This is the end of color block one, total 10 rounds.
- Repeat Step 4 replacing color A with color Ab for 10 rounds. This completes color block two.
- Repeat Step 4 replacing color A with color Ac for 11 rounds. This completes the center color block.
- Repeat Step 6 (color Ab). This completes color block 4.
- For the final color block (color A) complete 7 rounds, then begin working on the peg of the second cap for the next two.
- For the last round, cinch the ring down by adding 2A and sewing through the “up” B. Repeat twice, then step up into the 2A’s added and sew through only the A's to tighten. Repeat the thread path through the last row twice more to tighten, then weave back into your work, following the thread path for at least a couple of rounds back. Remove needle and trim or burn thread.
- Thread needle onto tail at other end and go back around through the top row of A's to tighten on the peg. Weave in as we did in Step 10, following your thread path. Trim or burn thread.
- Remove cap from beaded rope. Apply adhesive to the peg then slide beaded rope back on, snugging the end up into the cap. Repeat with second cap at other end of rope. Clamp with clothes pins or Wonder Clips and allow to dry.
- Open one jump ring and attach both cap loops. Close jump ring.
- Open one jump ring and attach to jump rings placed in Step 13 and loop of earring post. Close jump ring.
- Repeat all steps for second earring.


