Design Inspiration Supplies
Design Instructions
Supplies needed
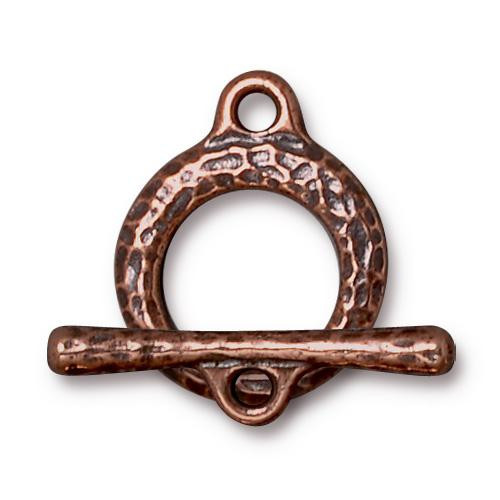
- 1 Craftsman Clasp (94-6205-18)
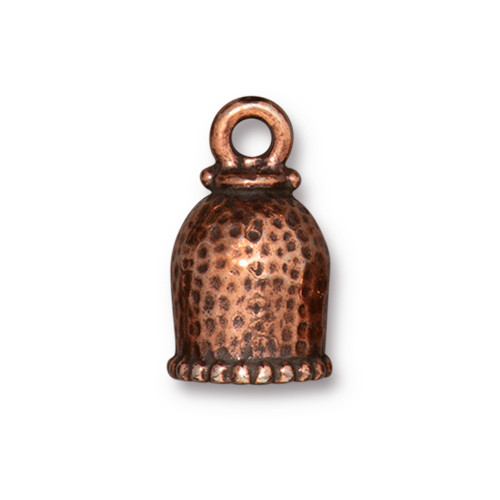
- 2 Palace Cord End 8mm (94-5847-18)
- 3 Oval Jump Ring 17ga 5x3.5mm (01-0019-18)
- 1 Oval Jump ring 19ga 4x3mm (01-0018-08)
- 2 Oval Jump Ring 20ga 3x2mm (01-0016-08)
- Size 6 seed beads (Color A)
- Size 6 seed beads (Color B)
-
Size 8 seed beads (Color C)
- Beading thread
- E6000 Adhesive
Tools
- thread cutters
- beading needles (2)
- chain and/or flat nose pliers (2)
- pins
- needle nose tweezers
- optional: toothpicks for applying glue
Skill Level: Intermediate
Finished Size: Approx. 8”
Designer: Dawn Sweazey Hyde
Download the Dawn's Bracelet PDF

Watch our technique videos on the TierraCast Blog (look for Jump Rings).
Tip: Some experience with beadweaving recommended for this project. During RAW base, don't worry about mixing up your needles - just remember 2 on right, 1 on left.
Steps
1. Cut a wingspan (approx 5') span of beading thread. Thread one needle at each end.
2. Close both 3x2mm jump rings securely so thread can't slip through.
3. String one 3x2mm jump ring onto thread and position at center.
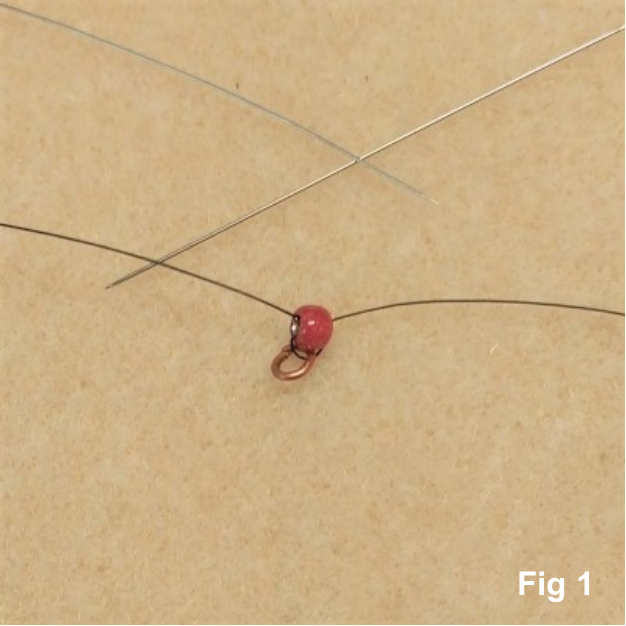
4. With one needle pick up one A bead, then thread the second needle through the bead from opposite direction. Move bead down to jump ring. (Fig 1)
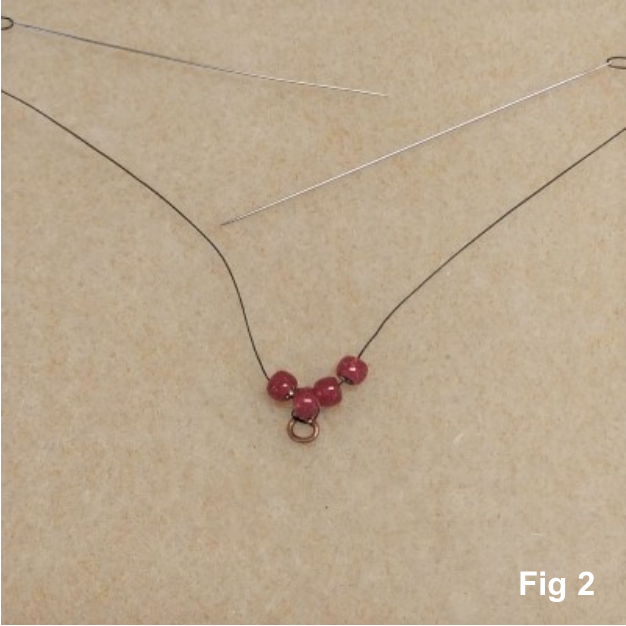
5. Pick up 2 A on right needle and 1 A on left. Bring all down to previous A. (Fig 2)
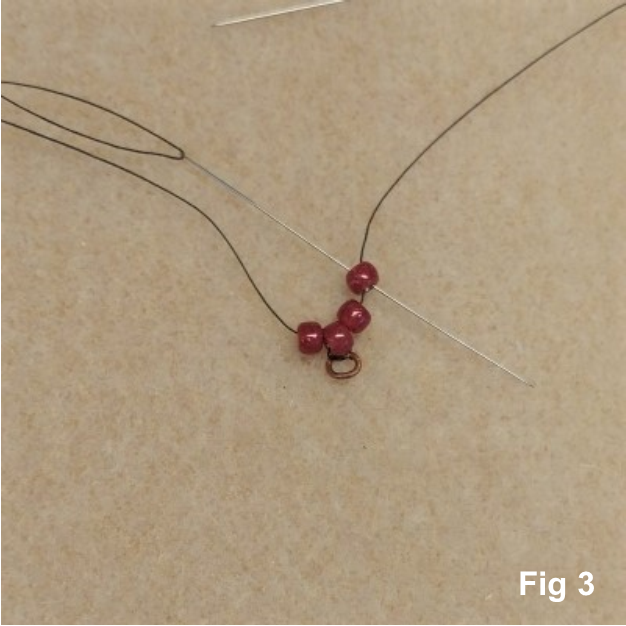
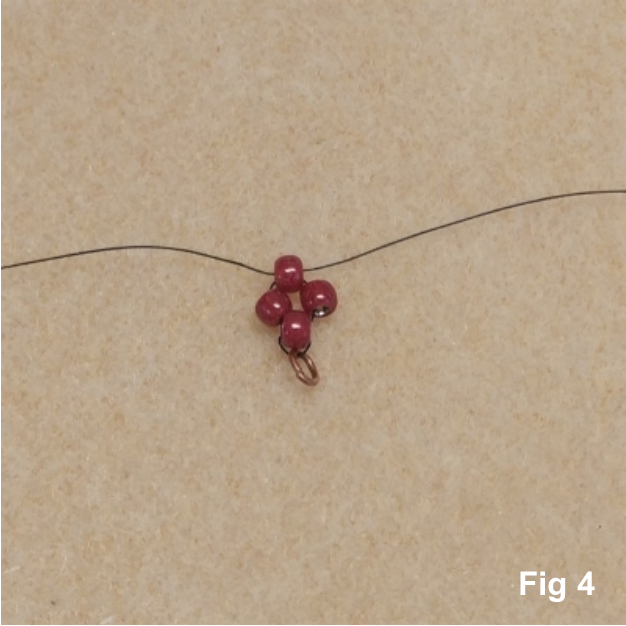
6. Pass left needle through 2nd A on right from top (Fig 3) and pull through. This forms first "diamond". (Fig 4)
7. Allowing approx. 2" for the cord ends and clasp assembly, repeat pattern (Steps 5-6) to desired length.
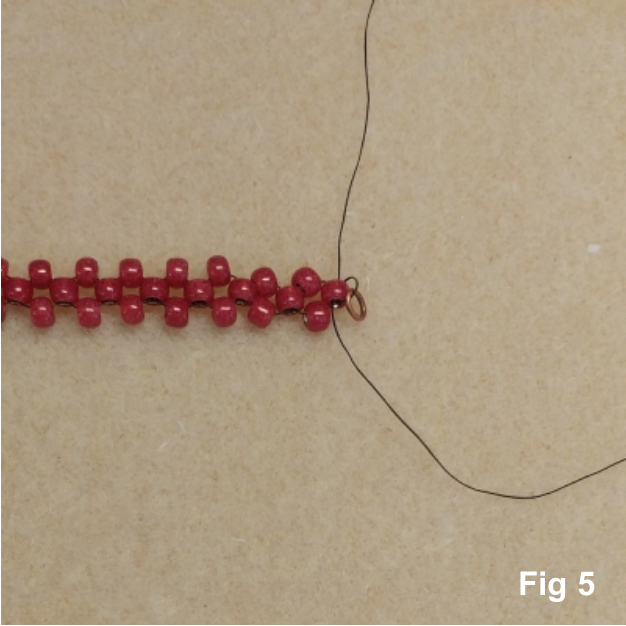
8. With one needle pick up one 3x2mm jump ring, then pass needle through final single A bead. (Fig 5)
9. Pin both ends of RAW base flat to work surface.
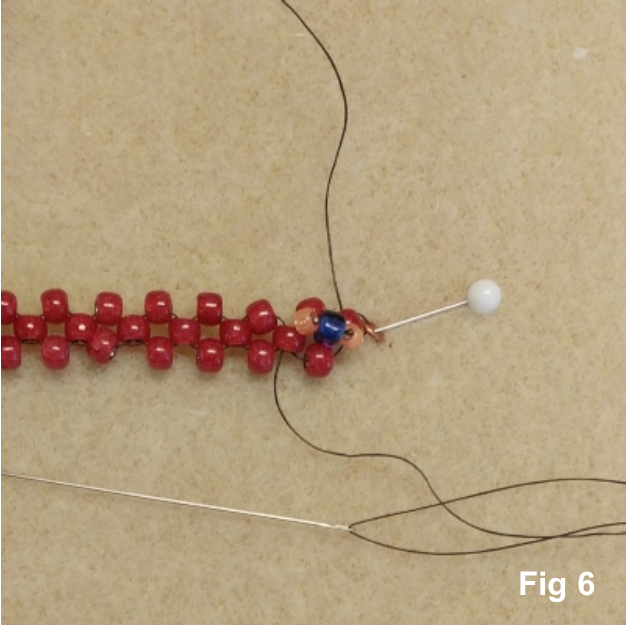
10. Working with one needle pick up one C, one B and one C, cross over base and pass needle through last bead of first diamond. (Fig 6)
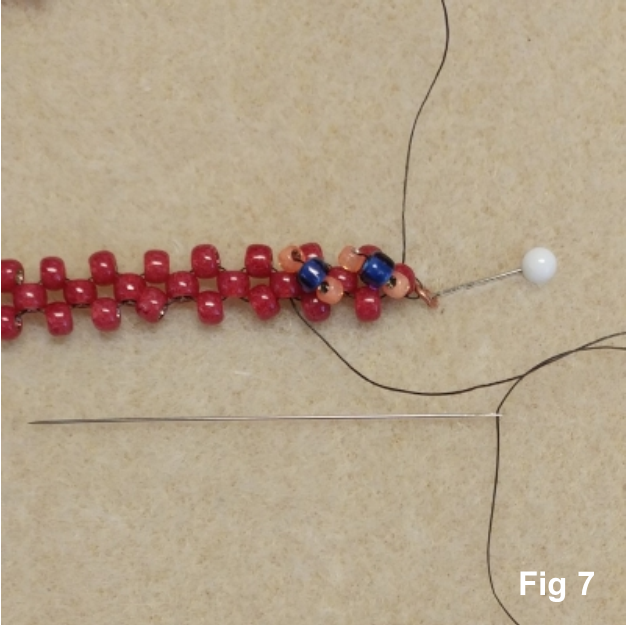
11. Pick up one C, one B, and one C, then cross over base and pass needle through last bead of second diamond. (Fig 7)
12. Continue this pattern for length of base, then pass needle through final A bead. Adjust to firm up thread tension.
13. Flip bracelet over and pin both ends to work surface. Working with second needle repeat Steps 10-12 on back side.
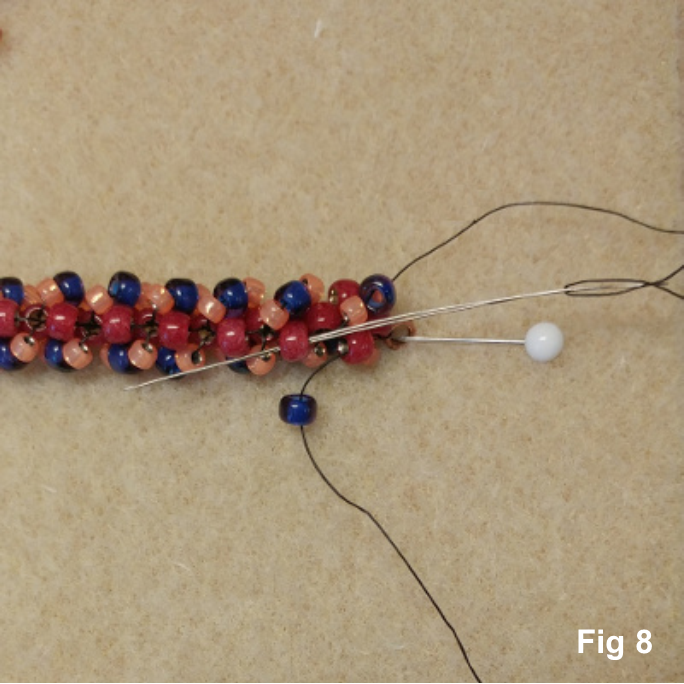
14. Working with one needle pass through first A bead of first diamond, pick up one B and pass through next A bead. (Fig 8) Continue to end of bracelet.
15. Repeat Step 14 with second needle on other side of bracelet.
16. Pass needle through final A bead then weave and knot through several beads. Trim thread. Repeat with second needle.
17. Apply adhesive inside one cord end. Use tweezers to tuck the beads at one end of the bracelet inside the cord end. Repeat at other end. Allow to dry.
18. Open one 5x3.5mm jump ring and attach clasp ring. Before closing attach to one end of bracelet. Close jump ring.
19. Open one 5x3.5mm jump ring and attach at one end of bracelet. Close jump ring. Repeat. Open one 4x3mm jump ring and attach to previous jump ring. Attach clasp bar before closing. Close jump ring.


