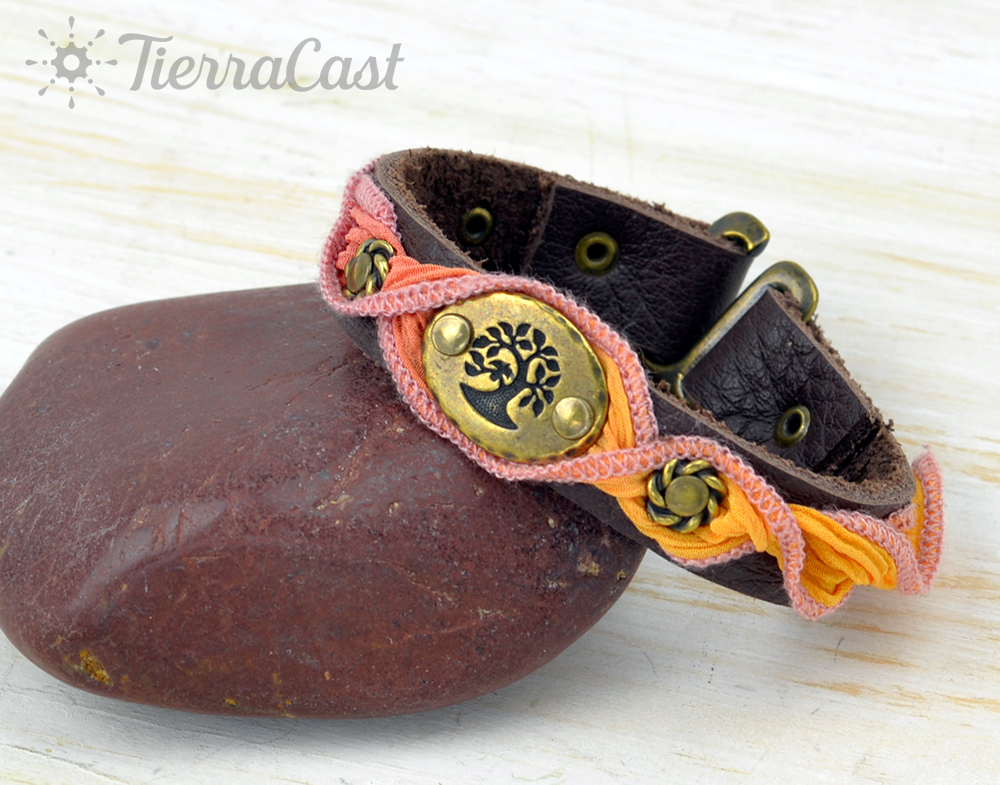
Design Inspiration Supplies
Design Instructions

Supplies needed
-
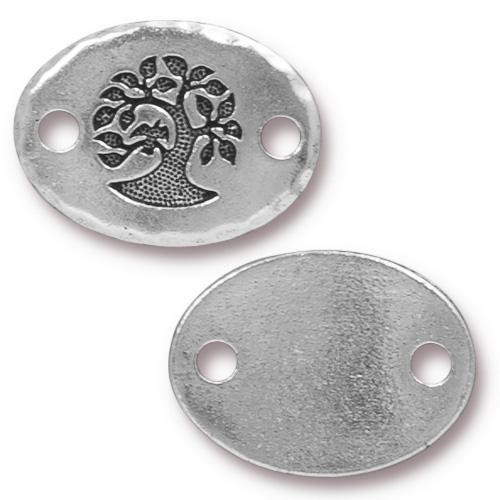
1 Bird in a Tree Link (94-3186-27)
-
2 Twist 8mm Spacer (94-5707-27)
-
1 E Hook ½” (94-6192-27)
-
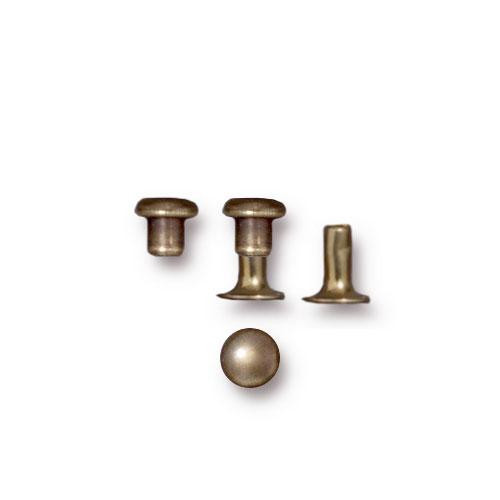
12 Compression 4mm Rivet Sets (01-0060-27)
-
1 Leather Strap 10x1/2”, Cocoa (21-0010-01)
- 1 Rivet Setter (79-0103-00) Optional
-
6-7” Hand Dyed Silk Ribbon
Tools
- scissors
- bench block
- hammer
- rotary leather hole punching pliers
- pen, or white chalk or charcoal pencil
- ruler
Skill Level: Beginner-intermediate
Finished Size: Variable
Designer: Tracy Proctor
Download the Leather and Silk Bracelet PDF
Watch the Demo Video: Cold Connection Jewelry Making Demo
Watch our technique videos on the TierraCast Blog (look for Eyelets & Rivets Tutorial)
Tip: A rivet setter is optional for this project. The rivets can also be set by hammering directly onto the rivet cap. (The cap will be flattened instead of domed.) When marking for holes, measure from center of previous hole, not edge.
Steps
- Fold end of leather strap over 1".
- Use pen or chalk pencil to make a mark 5/8" from edge of fold. Use smallest setting (2mm) on hole punching pliers to make a hole through both layers where marked.
- Insert one rivet post through holes from back. On the front place a rivet cap onto the post and snap together to engage.
- Place bottom of post onto bench block. Place tip of rivet setter onto cap, then use hammer to strike setter until rivet is securely set. (Check by using thumbnail or other small tool to test for looseness. If still loose, continue hammering until set.)
- Determine desired finished length for bracelet allowing 1/4" for hook*. Thread other end of strap through closed side of hook and fold strap accordingly with hook positioned at fold. (*Example: for 7" bracelet, fold leather at 6 3/4".)
- Repeat Steps 2-4 to secure. Trim excess strap.
- Use ruler to determine center of bracelet. Place link onto leather at center and make a mark at each hole.
- Use hole punching pliers to make holes where marked.
- Insert one rivet post through each hole and place onto bench block. Position ribbon over center of bracelet and snip tiny holes in ribbon to allow posts to poke through. Place link onto posts, then rivet caps. Secure rivets as in Step 4.
- Turn bracelet over and use ruler to make a mark 1/2" (adjust spacing as desired depending on finished bracelet size) from one of the center rivets. Repeat 3 times along one side of the bracelet, then repeat on other side. Use hole punching pliers to make holes where marked. Turn bracelet back over.
- In first hole from center link (either side), insert one rivet post. Twist ribbon as desired, snip hole and set over post. Place spacer over post, then cover with rivet cap and secure as in Step 4. Repeat on other side.
- Repeat Sep 11, omitting spacer, in the successive holes along both sides bracelet.
- Trim ends of ribbon as desired.


