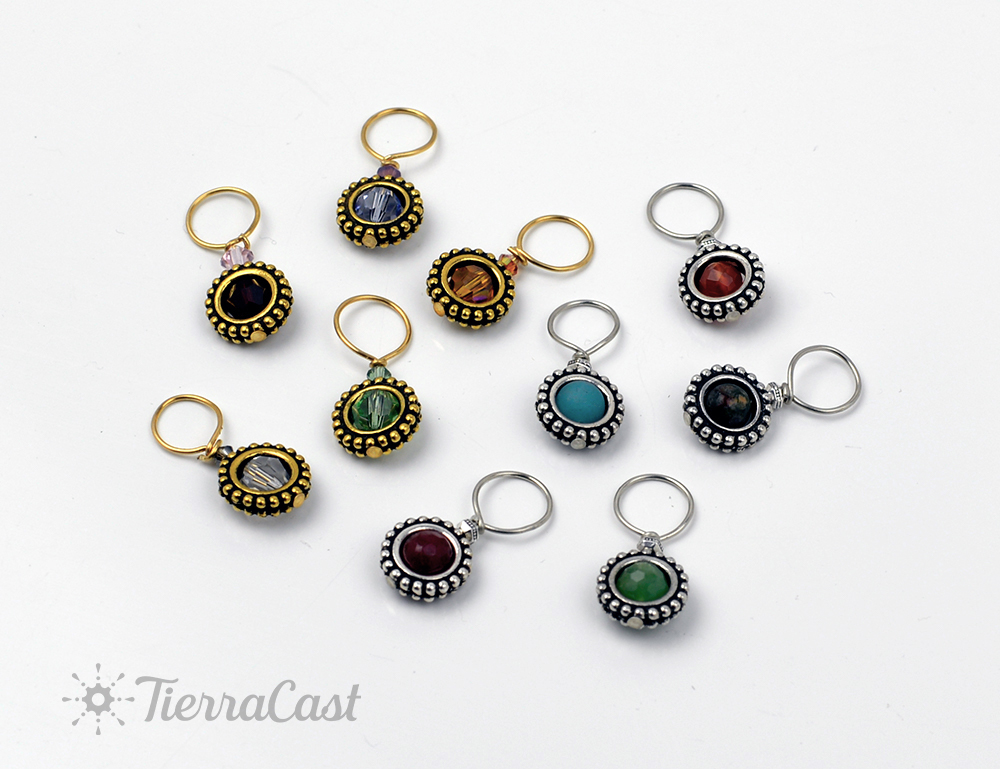
Design Inspiration Supplies
Design Instructions

Supplies needed for one stitch marker
- 1 Round 6mm Bead Frame (94-5654-12) OR
- 1 Round 6mm Bead Frame (94-5654-26)
- 1 Faceted 3mm Spacer (93-0422-12) OR
- 1 Faceted 3mm Spacer (93-0422-25)
- 1 Head Pin 21 Gauge 2" (01-0028-01) OR
- 1 Head Pin 21 Gauge 2" (01-0028-09)
- 1 Round 6mm Crystal Bead OR
- 1 Round 6mm Gemstone Bead
Tools
- wire cutters
- bail making pliers or 8mm round form (pen or other)
- chain nose pliers
- optional: emery board
Skill Level: Beginner
Finished Size: Approx. 1”
Designer: Sarah Wright
Watch our technique videos on the TierraCast Blog (look for Wrapped Loops)
Tip: Bail making pliers are extremely useful for this project. If you don't have any, use a pen or other round form approx. 8mm or 5/16" in diameter.
Steps
- Lay bead frame onto work surface and place 6mm bead inside.
- Thread head pin through one hole of bead frame, then position bead so holes align and thread head pin through bead and top hole of bead frame.
- String one faceted spacer or other accent bead onto head pin.
- Bend wire over at right angle above accent bead. (If using a crystal accent bead protect top of bead with thumb nail to prevent cracking.)
- Use 8mm section of bail making plier jaws to form a loop in the wire, bringing tail all the way around past bottom of loop.
- Grasp tip of wire tail with chain nose pliers and wrap around once. Trim excess closely.
- Optional: use emery board to smooth wire end to prevent snagging.
- Repeat Steps 1-7 for additional stitch markers.
Download the Sarah's Stitch Markers PDF


