Design Inspiration Supplies
Design Instructions

Supplies needed
- 18 Disk 3mm Spacer Bead (93-0439-11)
- 1 L Charm (94-240L-12)
- 1 O Charm (94-240O-12)
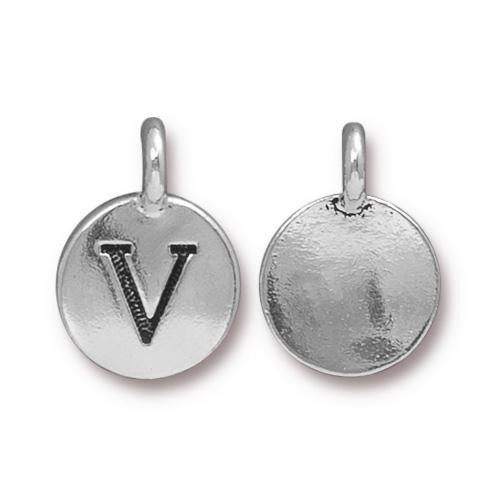
- 1 V Charm (94-240V-12)
- 1 E Charm (94-240E-12)
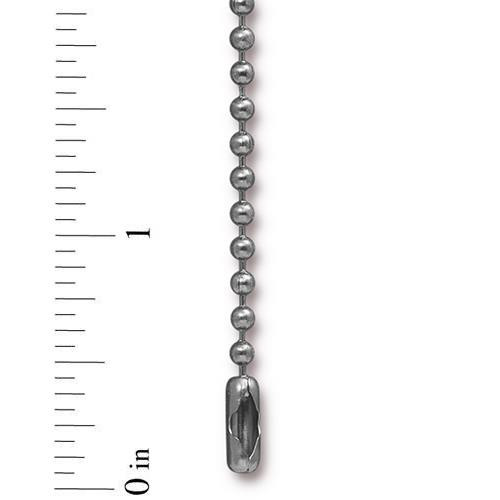
- 1 Ball Chain 2.4mm 30" (20-1430-00)
- 9 Head Pin 2” 21g (01-0028-01)
- 9 Round Jump Ring 20 gauge, 4mm (01-0024-01)
- 9 Sea glass button heishi beads, 9mm, asst. colors
Tools
- wire cutters
- chain and/or flat nose pliers (2)
Skill Level: Beginner
Finished Size: Variable
Designer: Tracy Proctor
Watch our technique videos on the TierraCast Blog (look for Jump Rings and Simple Loops).
Tip: If the ball chain connector is too tight, loosen it a bit by inserting the tips of your chain nose pliers inside the end and opening the jaws slightly.
Steps
- Trim ball chain to desired bracelet length. Set aside.
- Pick up one head pin and string on one disk spacer, one sea glass bead, and one disk spacer. At top of second spacer bend wire over at right angle, trim wire to 3/8" and form simple loop. Repeat with remaining head pins and beads.
- Open one jump ring and attach to one bead dangle created in Step 2. Close jump ring. Repeat with remaining bead dangles and jump rings.
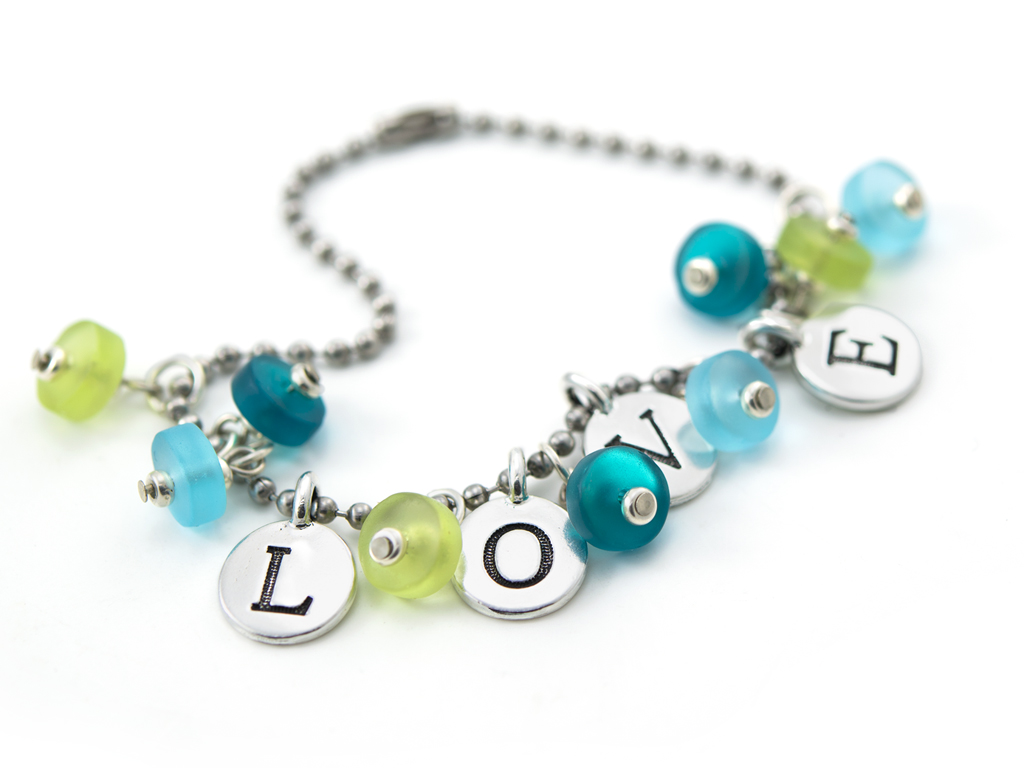
- Arrange bead dangles and letter charms in desired order on work surface.
- String dangles and charms onto ball chain.
Download the Say it With Love Bracelet PDF


