Design Inspiration Supplies
Design Instructions
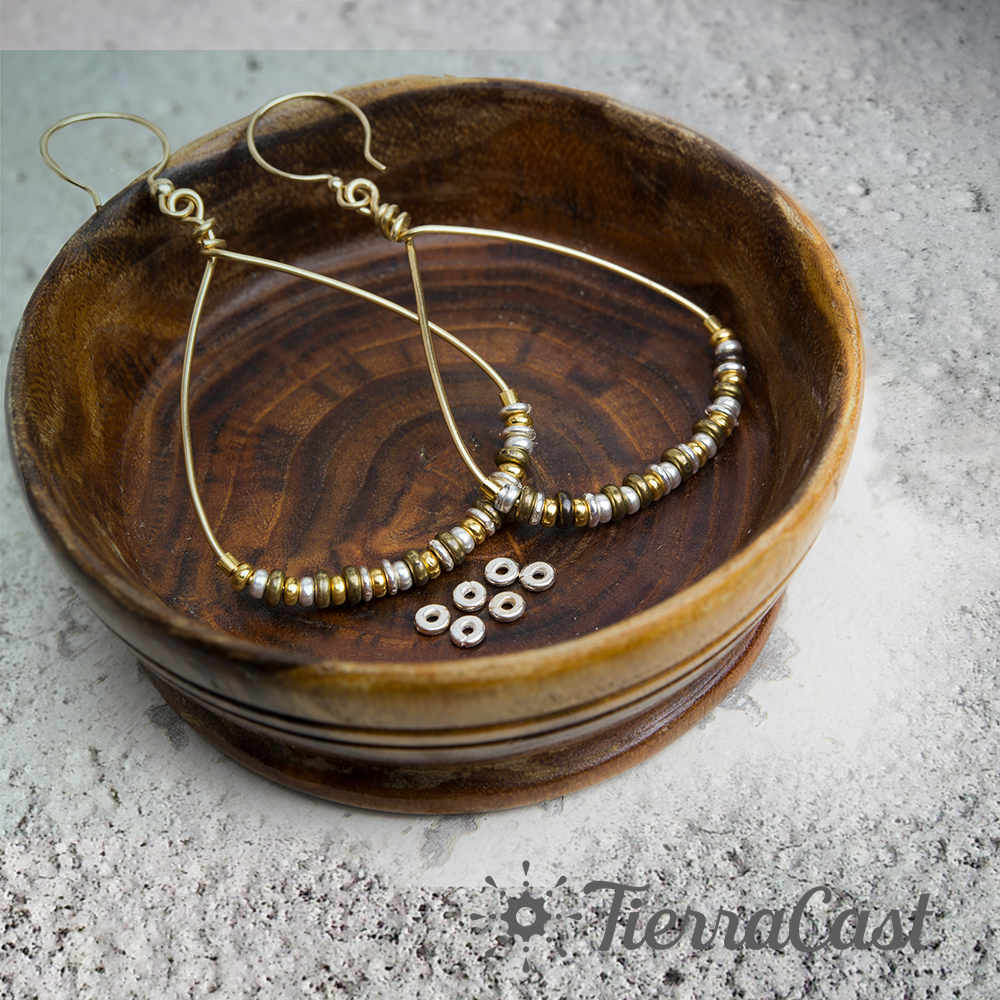
Supplies needed
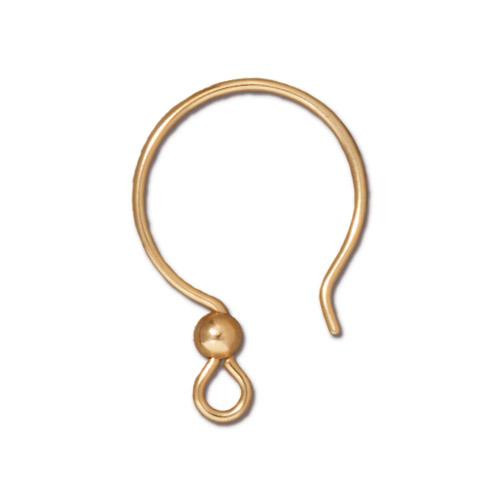
- 2 GF Hoop Earwire (90-3320-02)
- 4 2x2mm Crimp Bead (01-0030-09)
- 14 Kenyan Spacer (93-0405-11)
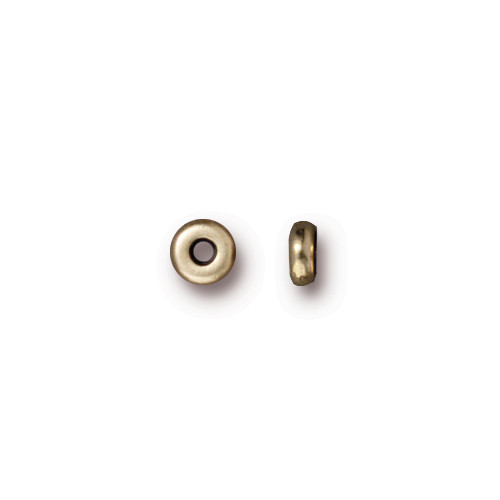
- 16 3mm Disk Spacer (93-0439-25)
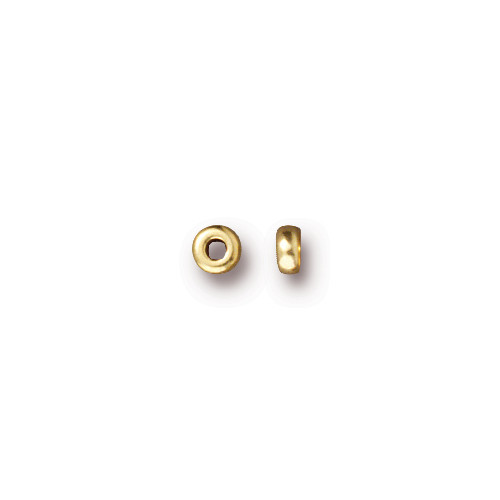
- 12 3mm Disk Spacer (93-0439-11)
- 15 4mm Disk Spacer (93-0440-27)
- 18 or 20ga craft wire
Tools
- chain nose pliers (2)
- round nose pliers
- flush cutters
- ruler
- crimping pliers
- nylon jaw pliers (optional)
Skill Level: Beginner-intermediate
Finished Size: Approx. 2 1/2 to 3"
Designer: Tracy Proctor
Download the Balance Earrings PDF
Watch the Demo Video for similar earrings: Sierra Earrings
Watch our technique videos on the TierraCast Blog (look for Jump Rings and Wrapped Loops).
Tip: Craft wire is fairly soft—handle gently!
Steps
-
Cut one 8" piece of craft wire and use fingers or nylon-jawed pliers to straighten if necessary.
-
Make a gentle curve in the wire 3 ½" from one end. (Hint: use a Sharpie marker or similar sized pen as a mandrel)
-
String one crimp bead onto longer end of wire. Move bead roughly to center of curve and use chain nose pliers or front notch of crimping pliers to secure in place.
-
String 28-29 spacer beads in random order.
-
String second crimp bead.
-
Before securing crimp bead, make a second curve in the wire to match the first, bringing the tops of the wire together to form a loose triangle. Adjust the shape of the curves so the position of second crimp bead is level with the first. Secure crimp bead in place as in Step 3.
-
At top of triangle bring ends of wire together so the triangle is 1 ½ - 2" tall.
-
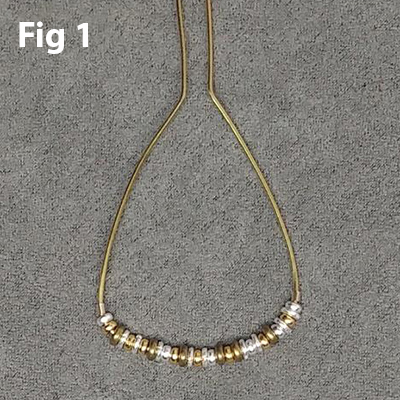
Bend ends of wire straight up, making sure sides of triangle are equal. (Fig 1)
-
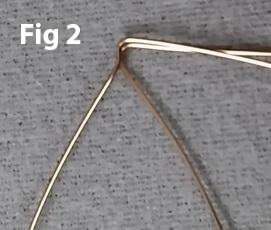
Grasp wires with tips of chain nose pliers, then bend at right angle above plier jaws.(Fig 2)
-
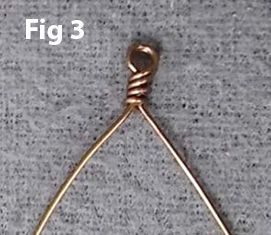
Use round nose pliers to form wrapped loop, then trim excess wire. (Fig 3)
-
Attach one earwire at top of earring.
-
Repeat Steps 1-11 for second earring.

