Design Inspiration Supplies
Design Instructions

Supplies needed
- 2 Concho Earring Post (94-1086-12)
- 2 Large Hammertone Ring (94-3087-70)
- 56 Faceted 3mm Spacer Bead (93-0422-12)
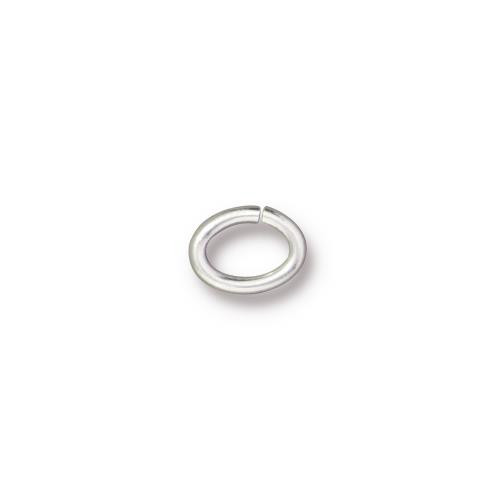
- 2 Oval Jump Ring 17ga, 5x3.5mm ID (01-0019-01 or -70)
- 2 Clear Comfort Post Clutch, optional (01-0012-03)
- 32 Size 8 Round Seed Bead A, red-brown (Toho Terra Cotta Opaque-Frosted shown)
- 42 Size 8 Round Seed Bead B, off-white (Toho Opaque Bone shown)
- 70 Size 8 Round Seed Bead C, turquoise (Toho Opaque Turquoise shown)
- Braided or Bonded Beading Thread, white, 4 or 6lb
Tools
- chain nose pliers (2)
- big eye needle
- scissors or thread snips
Skill Level: Beginner
Finished Size: Approx. 2 1/2"
Designer: Tracy Proctor
Download the Beaded Concho Earrings PDF
Watch the Demo Video: Beaded Concho Earrings Jewelry Making Demo
Variations:
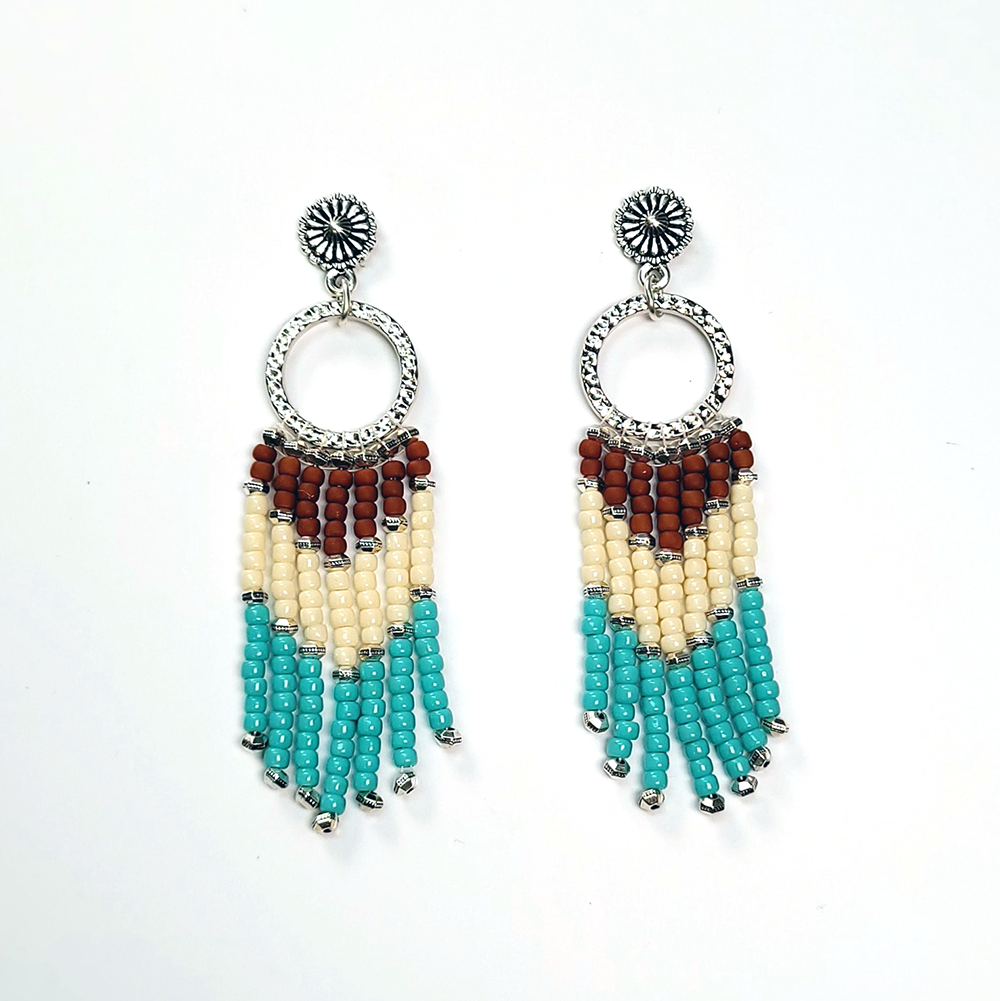
1. There are enough seed beads in the Beaded Concho Earrings Kit to create a longer version. Add 1 red-brown, 2 off-white, and 2 turquoise to each strand for the 3" variation shown below.
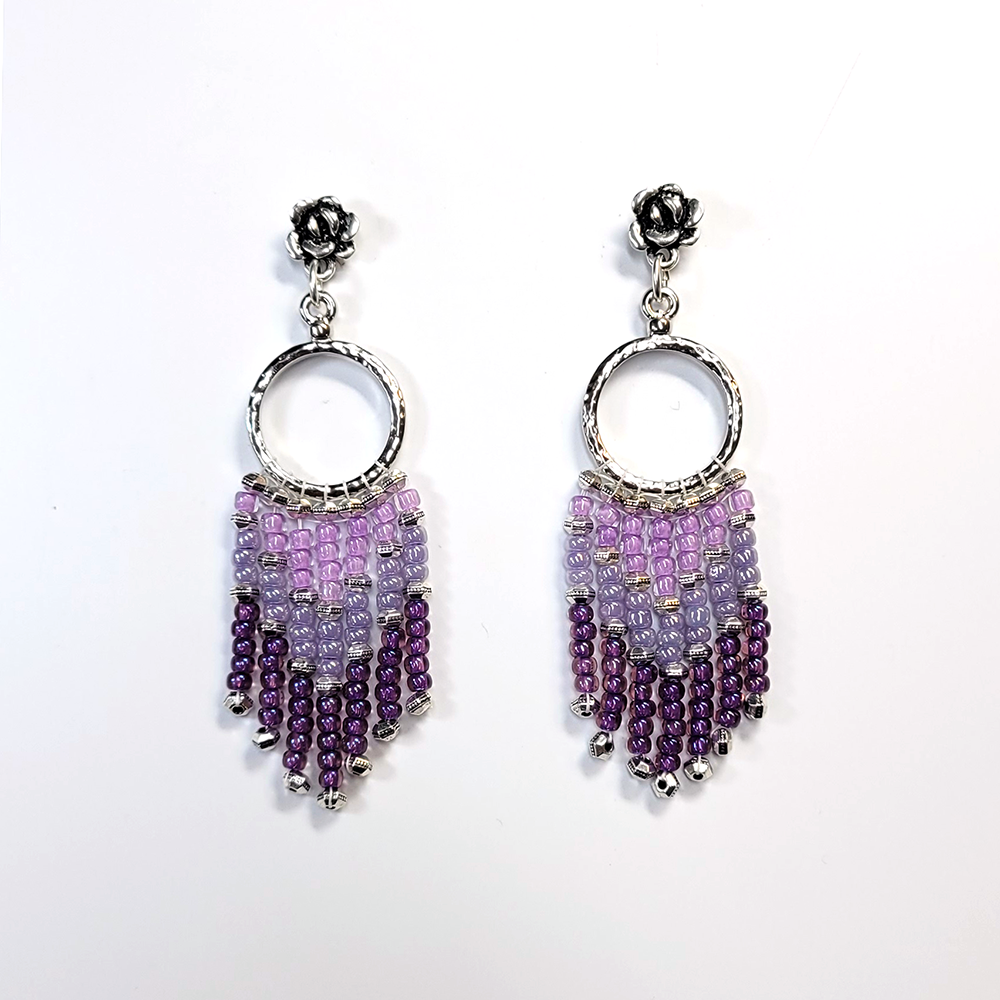
2. Monochrome version - same pattern with Succulent Earrings Posts (94-1085-12) and 18mm Stitch-around Hoops (94-2563-70)
Watch our technique videos on the TierraCast Blog (look for Brick Stitch and Jump Rings).
Tips: Keep thread tension tight but not overly tight throughout. Don't miss any beads when passing needle back through strands. Do smooth each strand before starting next to make sure there is no excess slack in thread.
Steps
- Cut a 4' piece of thread. Thread needle onto one end.
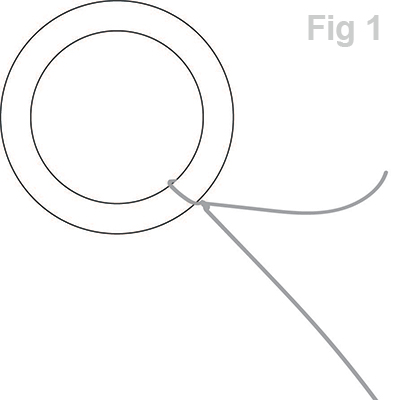
- Tie other end to ring using a double overhand knot, leaving a 4" tail. Pull tight and position knot on outside edge. (Fig 1)
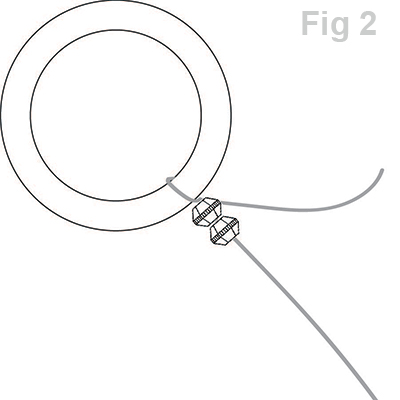
- Pick up 2 spacer beads and bring down to knot. (Fig 2) In Step 4 the second bead will be flipped over to lie next to the first.
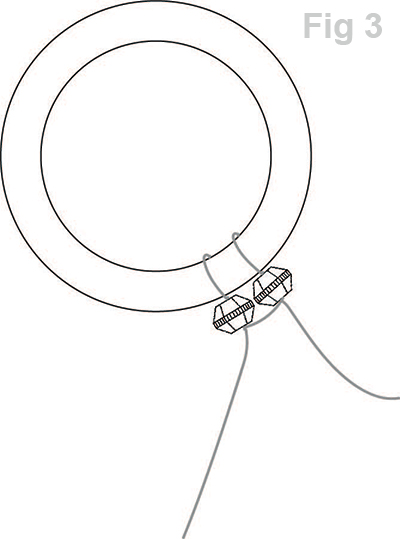
- Pass needle behind and through ring then through second bead. (Fig 3) Pull to take up slack.
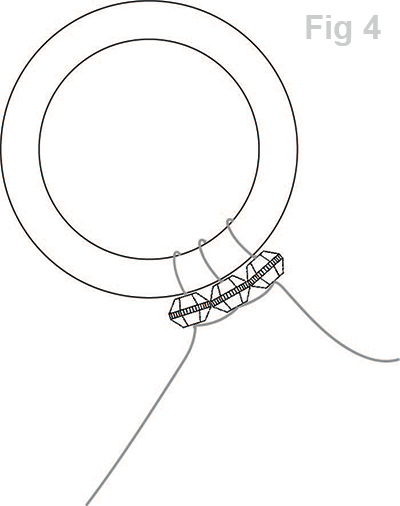
- Pick up 1 spacer bead and repeat Step 4. (Fig 4)
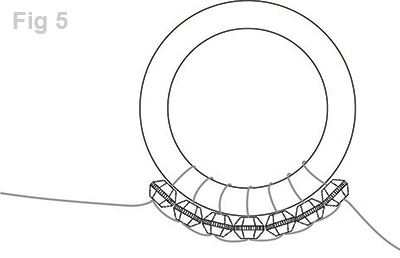
- Repeat Steps 4-5 four times for a total of 7 spacer beads. (Fig 5)
- Pick up 1 A bead, 1 spacer, 3 B beads, 1 spacer, 5 C beads, and 1 spacer. Bring all beads to spacer on ring.
- Skipping final spacer pass needle back through all beads including original spacer, then down through next spacer. (Fig 6)

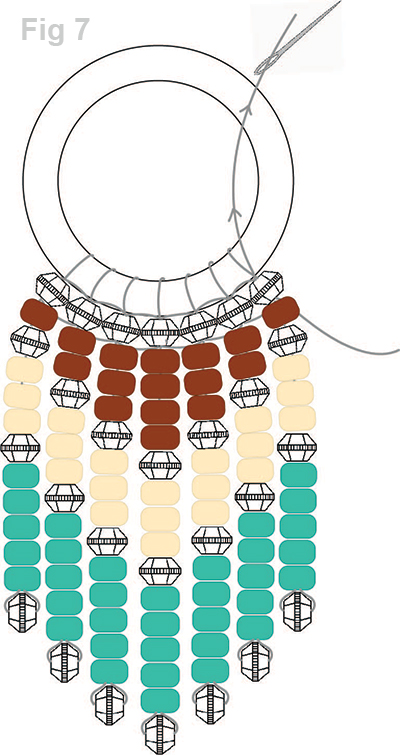
- Repeat Step 7-8 six times, adding/removing A beads to each strand in the following pattern - 1, 2, 3, 4, 3, 2, 1. (Fig 7).
- Pass needle back down through previous spacer bead, then form an overhand knot between spacer and A bead (pass needle around thread to form loop then pass needle through loop and pull tight).
- Pass needle down through strand of beads to bottom, then remove needle and carefully trim thread.
- Thread needle onto tail and repeat Step 11.
- Open one jump ring and attach to top of ring. Before closing attach loop of earring post. Close jump ring.
- Repeat Steps 1-13 for second earring.


