Design Inspiration Supplies
Design Instructions

Supplies needed
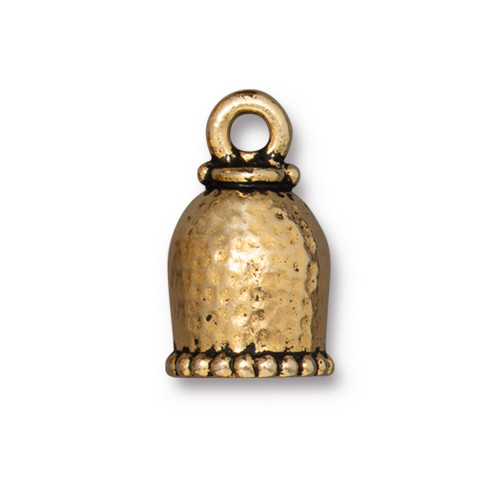
- 2 Palace Cord End 8mm (94-5847-26)
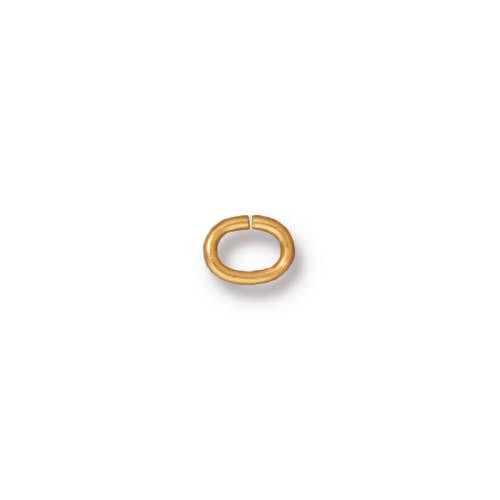
- 3 Oval Jump Rings 20 Gauge, 4x3mm ID (01-0018-09)
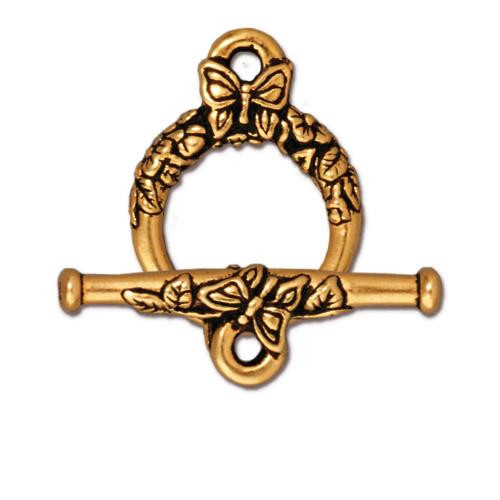
- 1 Butterfly Toggle Clasp Set (94-6097-26)
- 2g Size 8 Round Seed Beads in Color Miyuki 8-4506 (Color A)
- 2g Size 8 Round Seed Beads in Color Miyuki 8-409 (Color B)
- 2g Size 8 Round Seed Beads in Color Miyuki 8-4244 (Color C)
- 2g Size 8 Round Seed Beads in Color Miyuki 8-2470 (Color D)
- 318 Twisted Nylon S-Long Bead Cord
- E6000 or preferred jewelry adhesive
Tools
- Kumihimo round braiding foam disk
- Kumihimo weight or other improvised weight such as a keychain
- Optional: 8 Bob-EEZ No Tangle Thread Bobbins (or other)
- thread cutters
- big eye needle
- chain and/or flat nose pliers
- beading mat
Skill Level: Beginning-Intermediate: kumihimo experience recommended but not required
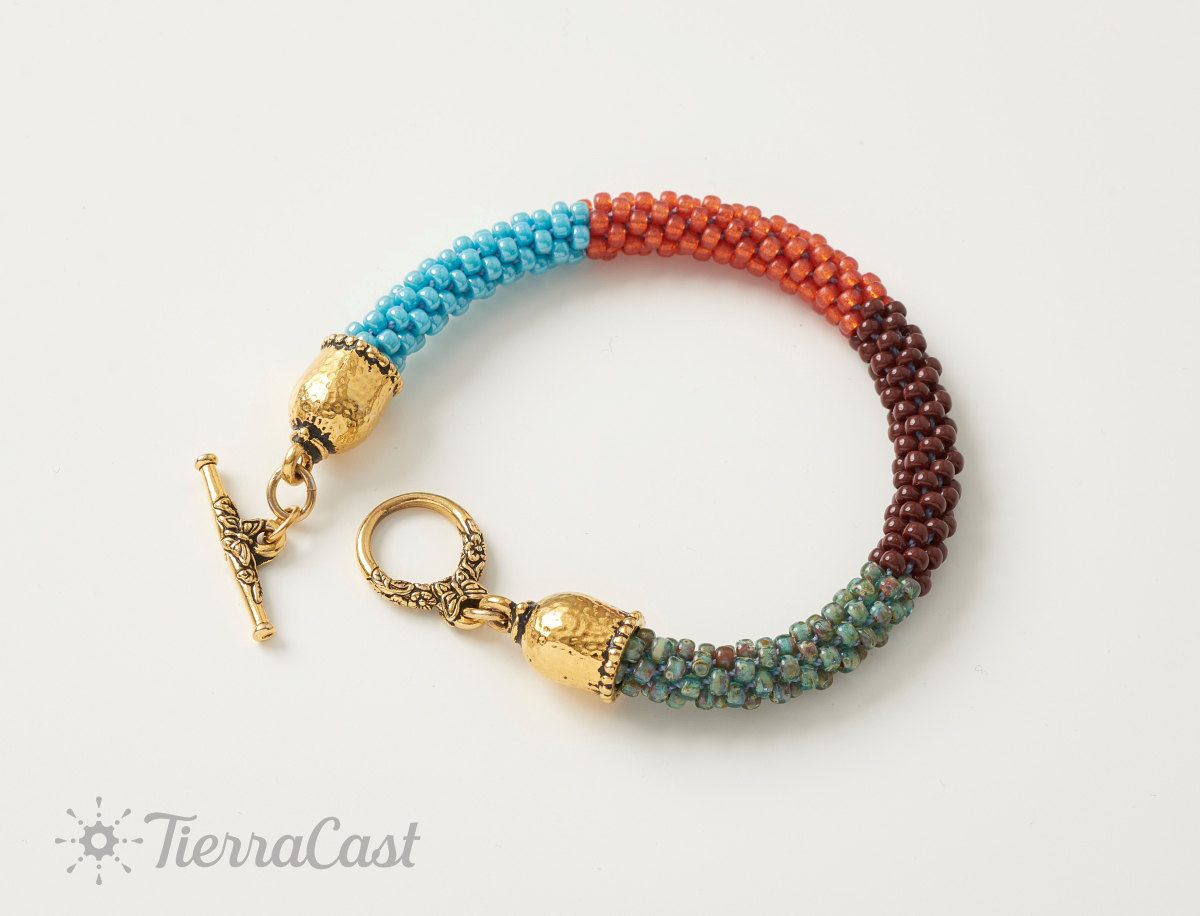
Finished Size: Approx. 8”
Designer: Danielle Wickes
Download the Colorblocked Kumihimo Bracelet PDF
Watch our technique videos on the TierraCast Blog (look for Jump Rings).
Steps
- Cut eight strands of S-Lon cord approximately 20 inches in length. Using a big eye needle, put a stop bead on each strand by stringing a seed bead onto cord, then loop the cord through the bead again. Position the bead near* the end of the strand and pull cord tight. *if using bobbins, leave enough of a tail to wrap around the bobbin a couple of times.
- String 30 beads onto each strand in the following pattern: 8 Color A, 7 Color B, 7 Color C, 8 Color D.
- Tie the top of all eight strands together in an overhand knot.
- Optional - if desired, wrap the bead stopper end of each of the cords around a bobbin. Leave the beads outside of the bobbin.
- The following instructions for a simple 8-warp braid are detailed according to the BeadSmith’s Kumihimo Braiding Disk: Place the knot in the center hole of the braiding disk and separate each cord into the notched starting position on the braid foam disk. The starting positions for each strand are noted with a dot or with the numerical position points on your kumuhimo wheel.
- Attach a weight to the knot on the underside of the disk. This can be a 45-gram kumihimo weight, or a keychain will also work.
- Begin braiding without beads by moving the bottom left strand up to the notch to the left of the two, top strands.
- Move the strand down to the right of the strand remaining at the bottom.
- Rotate your disk counterclockwise, one quarter turn.
- Repeat Steps 7–9 six times.
- Repeat Steps 7-9 adding one bead when each strand is moved. To do this, slide one bead down the strand with each strand move. The beads will fall into the center hole of the wheel. Help the bead to position itself by tucking it under the first warp it crosses. The beads should begin to stack upon each other. Continue until all beads are used.
- Repeat Steps 7-9 without beads seven times.
- Remove each strand from the braiding wheel and remove the weight. Cut a short piece of S-lon and tie it around the around the end of the braid. Tie a knot and then wrap the cord three times. Tie another square knot. Trim the excess cord above the knot.
- Apply a generous amount of glue all over the cord and place inside a cord end. Hold in position for a few minutes, then allow to cure. Repeat this step for the other side of the braid.
- Once cured, open one oval jump ring and attach the toggle ring to one end of the bracelet. Close jump ring.
- Attach one jump ring to the toggle bar - close jump ring - then use third jump ring to attach it at the other end of the bracelet.


