Design Inspiration Supplies
Design Instructions
Supplies needed
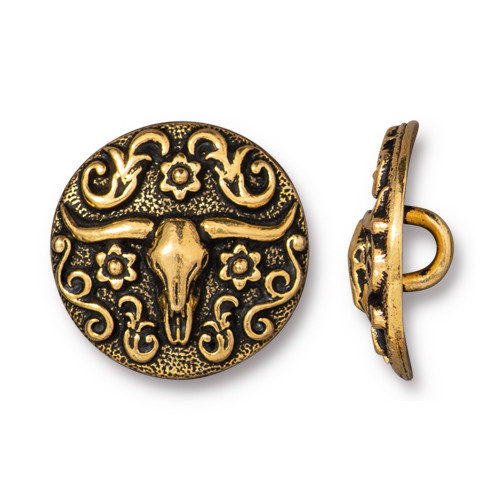
- 1 Longhorn Skull Button (94-6608-26)
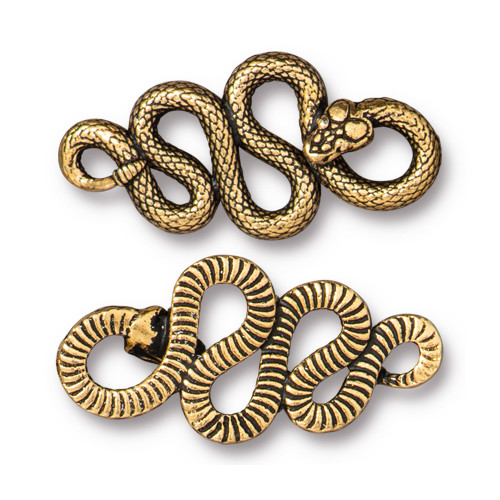
- 1 Rattlesnake Link (94-3236-26)
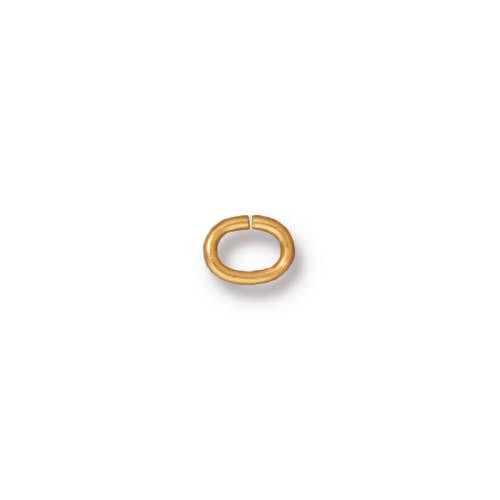
- 2 Oval Jump Ring 20ga 4x3mm ID (01-0018-09)
- 9g Size 10/0 Delica Seed Beads (Color A, DBM2267)
- 4g Size 10/0 Delica Seed Beads (Color B, DBM204)
- 150” 6lb Fireline or Wildfire .006 Beading Thread
- 7” 1.5mm leather cord
Tools
- Scissors / Thread Snips
- Size 11 Beading Needle
- Set of chain nose and bent nose pliers
- Beading mat
Skill Level: Intermediate
Finished Size: Approx. 7.25"
Designer: Danielle Wickes
Download the Rattlesnake Cactus Bead Pattern PDF and the Rattlesnake Cactus Word Chart
Download the Rattlesnake Cactus Peyote Bracelet PDF
Front

Back

Bead Chart

Watch our technique videos on the TierraCast Blog (look for Jump Rings).
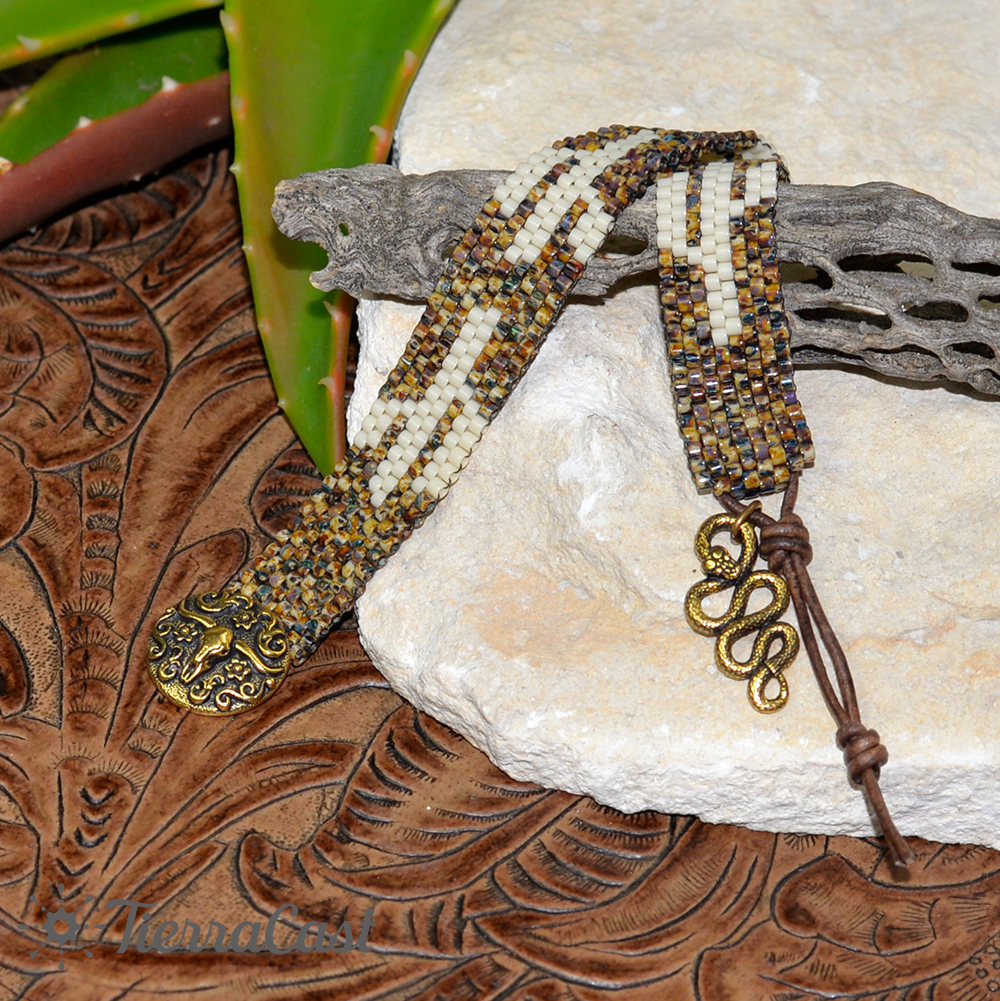
Introduction: The Rattlesnake Cactus bracelet is created with even-count peyote stitch technique. These instructions refer to the bead letters and rows in the Rattlesnake Cactus peyote stitch pattern word chart. The word chart’s first bead is the top right bead in the bead graph. This design can be made in other colors and with other bead sizes. Finished size will vary based on bead size. The sample was made with Size 10/0 Miyuki Delicas for a finished length of approximately 7.25” clasped.
Steps
- Cut a comfortable length of beading thread. Thread will need to be added, so working with a comfortable length of about 50 to 60” is recommended. Leaving a 16” tail, string Rows 1 and 2 of the pattern.
Fig 1
- Pick up the first bead of Row 3. Skip the last bead strung in step 1 and go through the next bead. Pick up the next bead in row 3. Skip a bead and go through the next bead. Repeat this step twice more, for a total of four beads.
Fig 2
- Repeat step 2 to add each new row, referring to the pattern word chart. When your working thread is 7” short, refer to step 4, Adding Thread.
- Adding thread: When your thread is running short, leave the old working strand in place for the moment, and cut a new length of working thread. Bring it into the work a few rows back, leaving a short tail of about 3”. Begin weaving through the beads, following the existing thread path. Change direction two or three times and test the weave in by pulling on the new strand to see if the tail moves. Once the tail stays put when you pull, you’ll know that you have a secure weave in. Trim the tail from the new working thread and weave to exit from the same bead your old working thread is exiting. Create three or four new rows with the new, working thread. Weave the old working thread up into the new rows just created and trim excess.
- After completing the last row of the pattern, check to see how much working thread you have left. If you have 20” or more, you can proceed with the next step. If you have less than 20” of thread left, weave in and then weave in a new working strand.
- Refer to Figure 3. Weave through the beads following the thread path shown to exit from the bottom left bead with your thread heading right. String a Color A bead and go through the next up bead. Repeat twice more for a total of three beads this row. We have just decreased peyote stitch by one bead.
Fig 3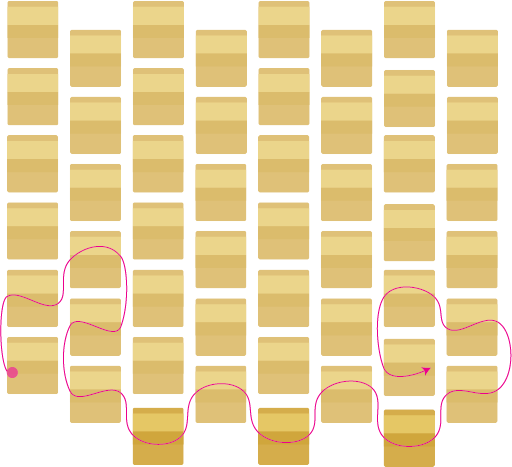
Fig 4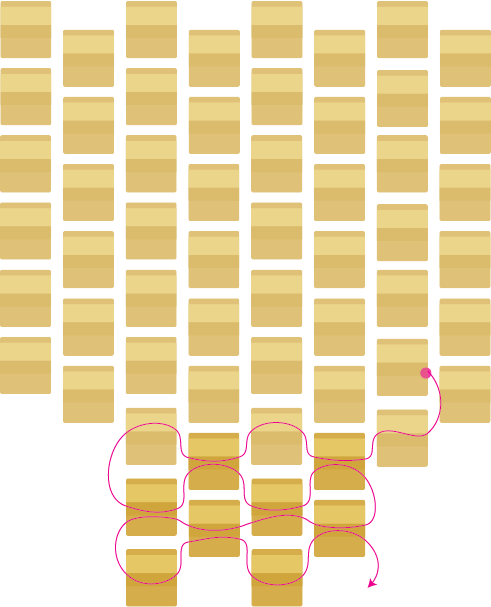
- Following the thread path shown, weave to exit from the bottom right bead, with your thread heading left. Fig 3 and Fig 4. String a new, color A bead and go through the next up bead, twice, for a total of two beads added this row. Repeat this step, adding two beads per row, for a total of 8 or 9 rows. Note - this technique will work with more or less rows here, and can be adjusted to fit different sizes of leather. The sample has a total of 9 rows of 2 beads each.
Fig 5 (Image Completed Tab)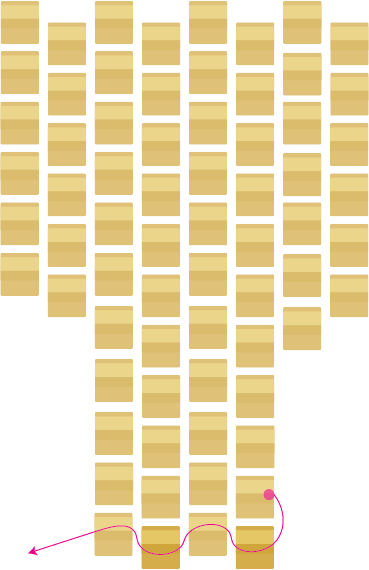
- Fold the decreased section, hereinafter referred to as the tab, over to lay on top of the piece. (Fig 6 and 7.) Using peyote stitch technique, complete the next row of the tab by using the corresponding beads in the piece, approximately 5 rows back on the band. Go through the next up bead on the tab. Go through the next corresponding bead on the piece. This is called a zipper stitch, and is the same process as with joining a peyote stitch ring. We are just using the beads in the band as the new bead for each of the two beads in this row. Refer to Figure 7. The thread path to join and to reinforce (stitch back through) is shown. Weave in remaining working thread and trim.
Fig 6
Fig 7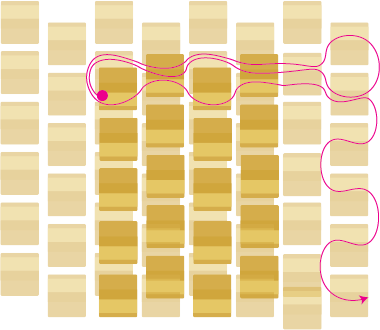
- Thread a beading needle onto the tail thread at the beginning of the piece. Refer to Figure 8. Follow the thread path shown to weave to exit from the third bead in from the right. String (6) Color A*. Go through the fifth bead from the right and then come back through all (6) beads. Go back through the third bead from the right, heading through that bead in the opposite side from the exiting thread. This will anchor down the loop so that the bottom two beads sit perpendicular to the piece, locked nicely in between the last up beads in the row. Reinforce this loop by repeating the thread path shown in Figure 8 once or twice more. Weave in remaining thread and trim.
Fig 8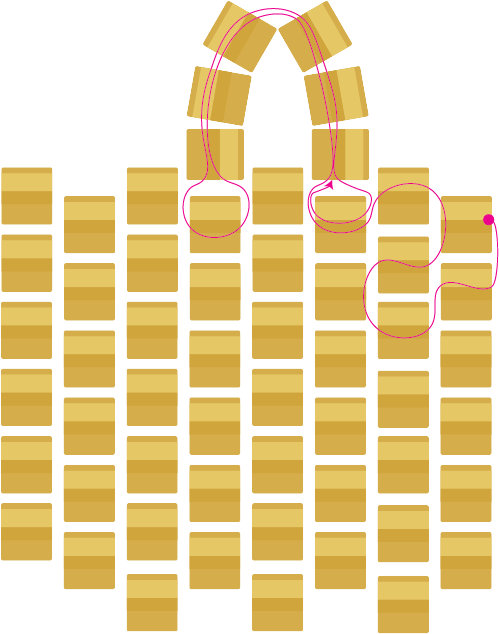
*Note - alternatively, you could string (3) Color A, the button Shank, then (3) Color A. In the sample, the button was added later with a medium, oval jump ring - Cut 7” inches of leather, or more if you’d like to make multiple button loops. Run the leather through the bottom, stitched down tab of the bracelet. Tie a barrel or overhand knot with the leather. Measure down the length of your button and tie a second, barrel or overhand knot. Tighten the knots and trim leather tails to desired length.
- Open a medium oval jump ring. Connect the button to the top loop of the bracelet.
- Open a medium oval jump ring and connect the Rattlesnake charm to the leather, just above the first knot.
