There are no products listed under this category.
Design Inspiration Supplies
Design Instructions
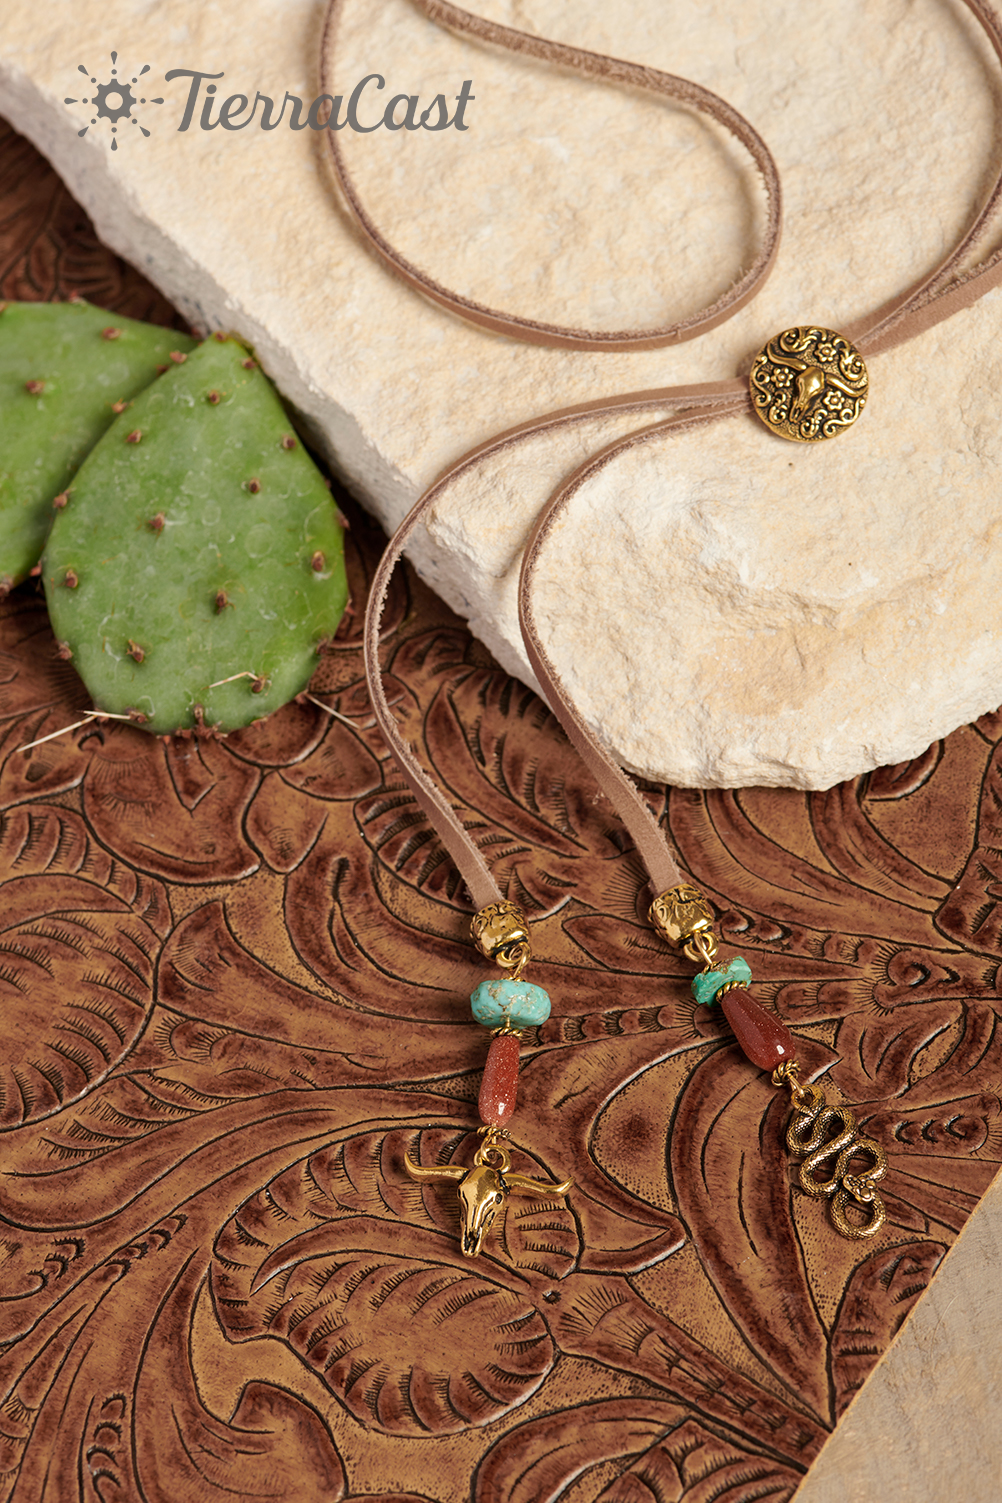
Supplies needed
- 1 Longhorn Button (94-6608-26)
- 1 Longhorn Charm (94-2576-26)
- 1 Rattlesnake Link (94-3236-26)
- 2 Jardin 4x2mm Crimp End (94-5826-26)
- 6 Twisted 4mm Spacer Bead (93-0412-26)
- 2 Eye Pin 2" 21ga (01-0027-09)
- 1 Oval Jump Ring 17ga 5x3.5mm ID (01-0019-09)
- 2 Gemstone 6-8mm Heishi Bead, turquoise (Turquoise shown)
- 2 Gemstone 12mm Tube or Rice Bead, red-orange (Goldstone shown)
- 35" 3mm Nubuck or Split Suede Lace (Nubuck Red Brown shown)
Tools
- scissors or leather snips
- round nose pliers
- chain nose pliers
- flat, nylon jaw or parallel pliers
- wire cutters
- jeweler's adhesive or gel super glue (optional)
Skill Level: Beginner
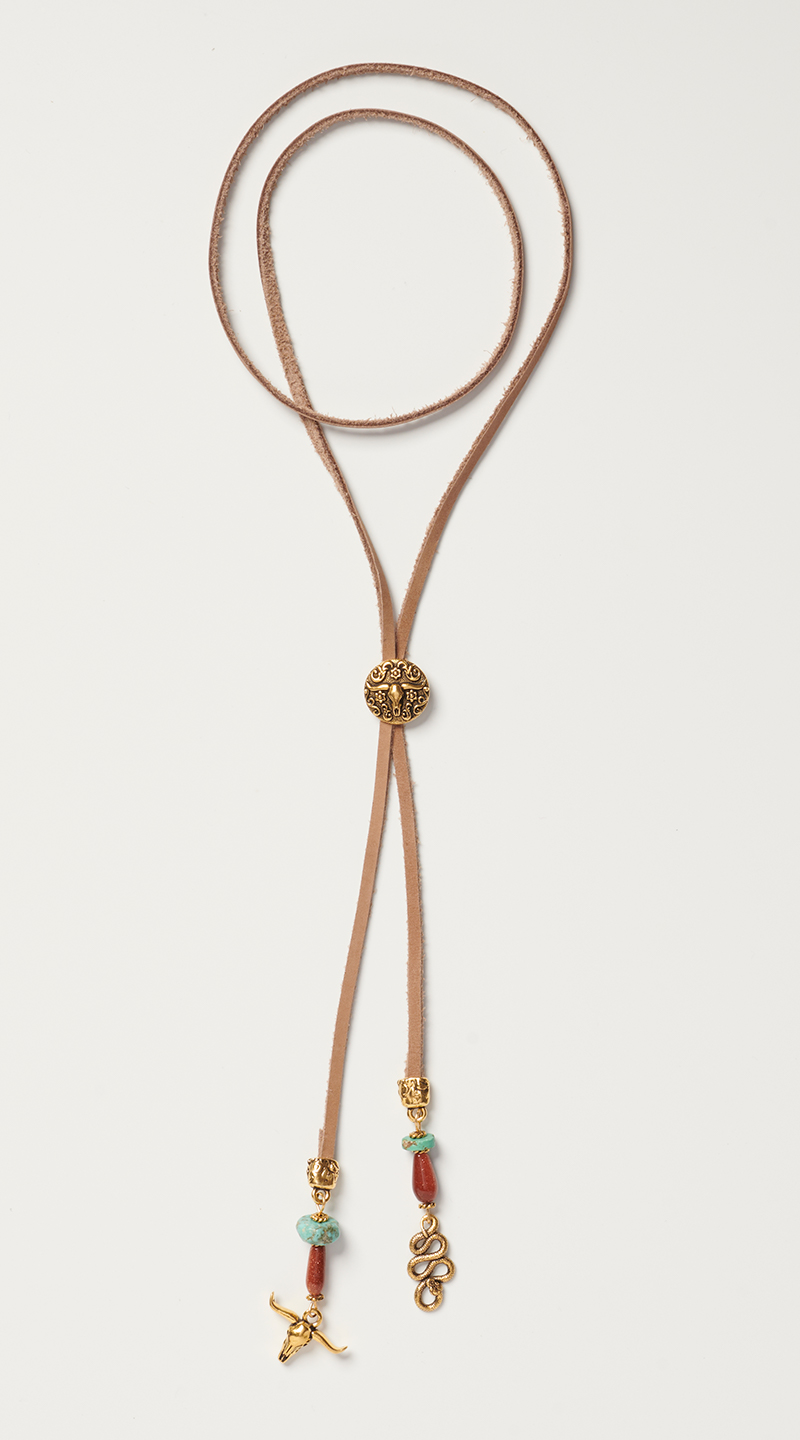
Finished Size: Approx. 38"
Designer: Tracy Proctor
Download the Rustic Desert Bolo PDF
Watch the Demo Video: Rustic Desert Bolo Jewelry Making Demo
Variations:
Silver ~
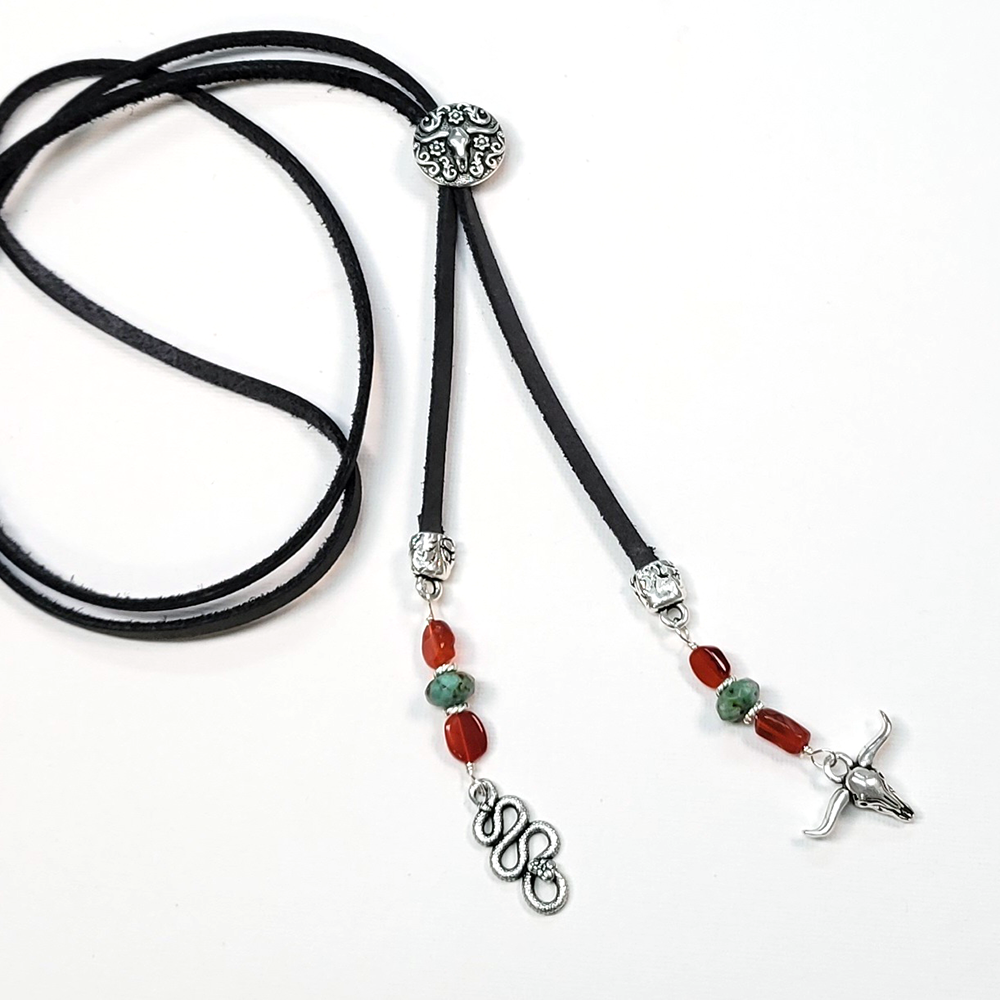
Floral ~
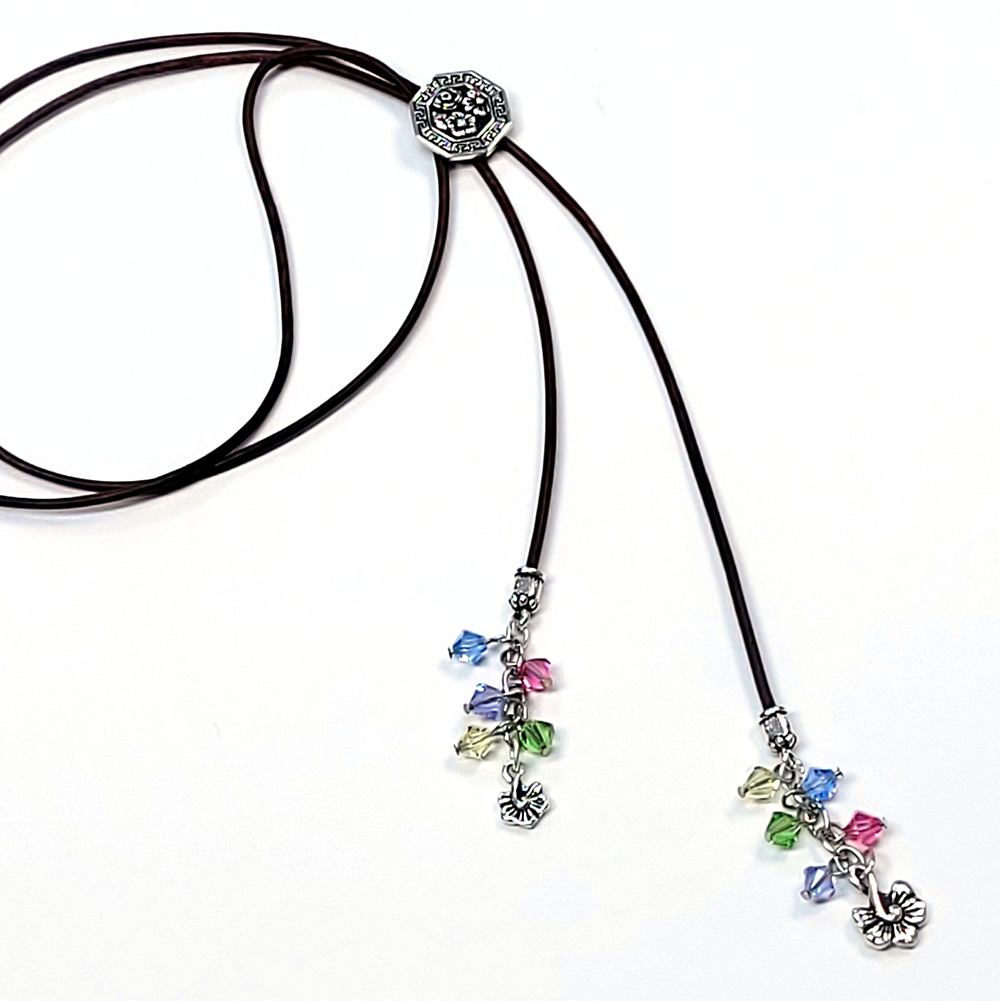
Watch our technique videos on the TierraCast Blog (look for Crimping Barrel Beads, Simple Loops, and Jump Rings).
Tip: Lace thickness can vary. For thinner lace try a smaller jump ring on the button, and fold the lace ends an additional time to create thickness for the crimp ends.
Steps
- String 1 spacer bead, 1 gemstone tube bead, 1 spacer, 1 gemstone heishi bead, and 1 spacer onto 1 eye pin. Bend wire over at top of final spacer and use round nose pliers to form simple loop, trimming excess wire. Open loop at bottom and attach 1 charm. Close loop. Repeat. Set aside.
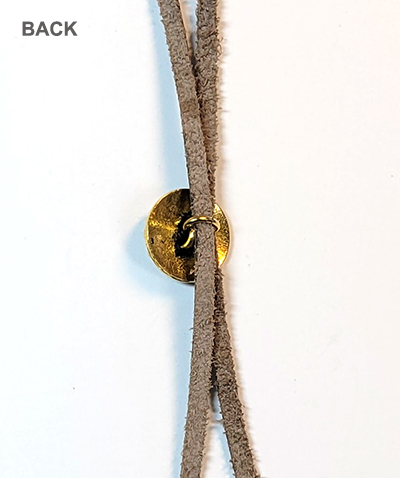
- Open jump ring and attach to button shank. Close jump ring.
- Fold lace strand in half and thread ends through the jump ring from top of button.
- Fold 1 end of lace up about 1/2". Tuck folded end all the way into 1 crimp end* and secure by crimping with flat nose or parallel pliers. *Optional: for added security apply a small amount of adhesive into crimp end before inserting lace and allow to dry. Repeat with other end.
- Open loop at top of 1 bead/charm dangle and attach to 1 end of lace. Close loop. Repeat.
