Design Inspiration Supplies
Design Instructions

Supplies needed
- 3 Leaf 1/2" Bezel (94-2581-18)
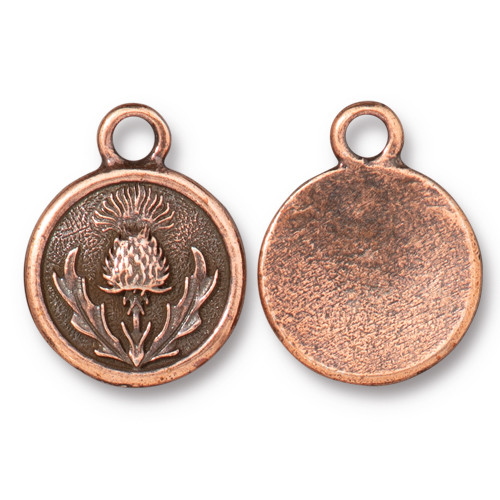
- 1 Thistle Charm (94-2579-18)
- 1 Hammered Spacer Bail (94-5816-18)
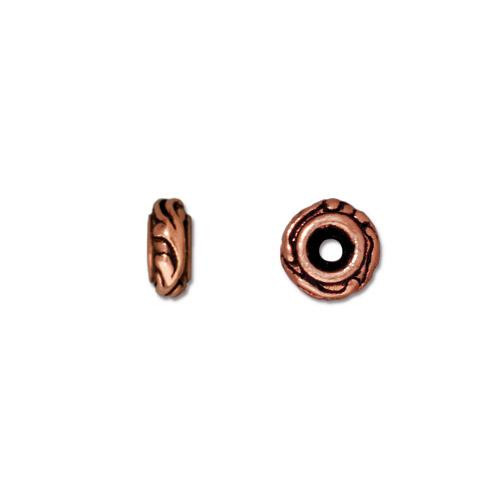
- 12 Woodland Spacer Bead (94-5649-18)
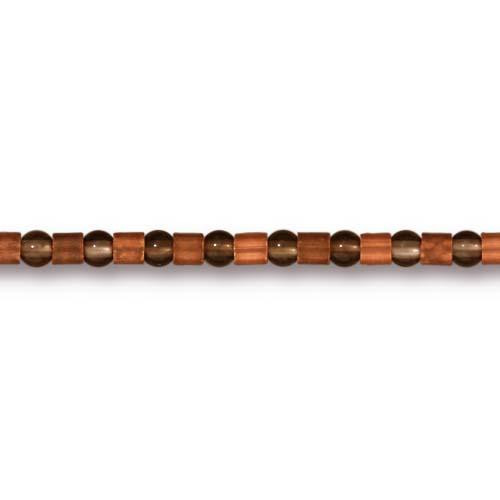
- 6 Turkish 4.5mm Spacer Bead (93-0425-18)
- 1 Floral Clasp (94-6196-18)
- 3 Crimp 2x2mm Bead (01-0030-18)
- 7 Oval Jump Ring 4x3mm ID (01-0018-18)
- 6 Gemstone Round 10mm Bead (Green Garnet shown)
- 4-5 Large Gemstone Beads (Amethyst and Carnelian shown)
- 3 Large Wooden Beads
- Soft Flex Colored Beading Wire, medium (Copper shown)
- Iced Enamels German Glass Glitter, Judikins Roxs or similar
- UV Resin or Judikins Diamond Glaze (or similar)
- Tissues
Tools
- chain and/or flat nose pliers
- crimping pliers
- wire cutters
- triangle bead scoop
- pin or toothpick
- UV lamp if using UV resin
- beading board (optional)
- bead stoppers (optional)
Skill Level: Beginning-intermediate
Finished Size: 9" as shown
Designer: Tracy Proctor
Download the Thistle Bracelet PDF
See our helpful Faux-druzy Pinterest tutorial here.
Watch our technique videos on the TierraCast Blog (look for Crimping and Jump Rings)
Tip: Glass glitter is glass. Use care when handling. Allow extra bracelet length when using chunky beads!*
Steps
- Apply ¼” drop of glaze or UV resin into bottom of 1 bezel.
- Use pin or toothpick to spread around bottom.
- Use scoop to apply small amount of glitter into bezel.
- Use pin or toothpick to spread and arrange glitter as desired.
- Apply more glaze and/or glitter sparingly if needed.
- Repeat steps 1-5 with 1 more bezel and allow glaze/resin to cure per product instructions. Leave 3rd bezel empty.
- Arrange 7" to 8" of beads and spacers as desired, alternating larger wood and gemstone beads with 10mm round beads. Position bail at center, and finish at each end with a Woodland spacer bead. Determine where the 2 faux-druzy bezels will hang and place 2 spacer beads next to each other in those places.
- Cut 24" of beading wire.
- Attach 1 jump ring to clasp ring loop and close securely.
- Thread beading wire through jump ring and pull to center, then thread both ends through 1 crimp bead. Slide crimp bead down to jump ring to create an approx. 1/8" loop, then secure with crimping pliers.
- Begin stringing beads onto both wires. When you come to the first 10mm bead string onto only 1 wire, wrapping the second wire around the outside of the bead. Continue stringing onto both wires until next 10mm bead. Continue pattern until all beads are strung.
- String 1 crimp bead onto each wire. Place bead stoppers onto wire ends. (Optional)
- Open 1 jump ring and attach 1 faux-druzy bezel in it's place between two spacers. Close jump ring. Repeat with second bezel.
- Open 1 jump ring and attach to bail at center. Before closing attach 3rd bezel, back facing forward, then thistle charm. Close jump ring.
- Close 1 jump ring securely.
- Thread 1 wire end through jump ring from Step 15 then back through crimp bead and a few adjacent beads if possible. Adjust to form approx. 1/8" loop, taking up slack in bead strand but not too tightly. (Allow room for bead strand to curve as needed.)
- Secure with crimping pliers.
- Repeat Steps 16-17 with second wire. Trim wire tails as needed.
- Open 1 jump ring and attach to jump ring from Step 15. Before closing attach clasp bar. Close jump ring. (Optional: use 1 more jump ring if extra length is needed.)


