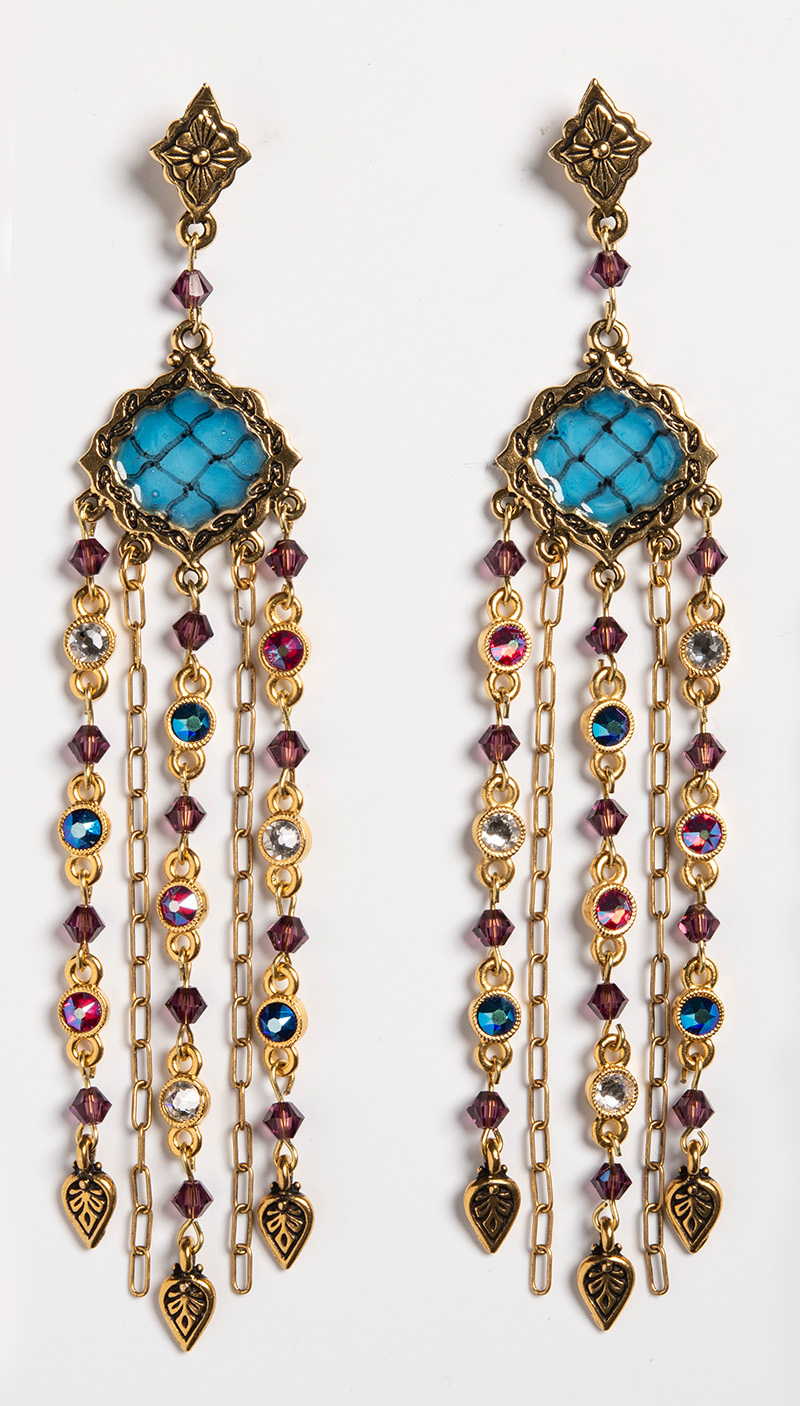
Design Inspiration Supplies
Design Instructions
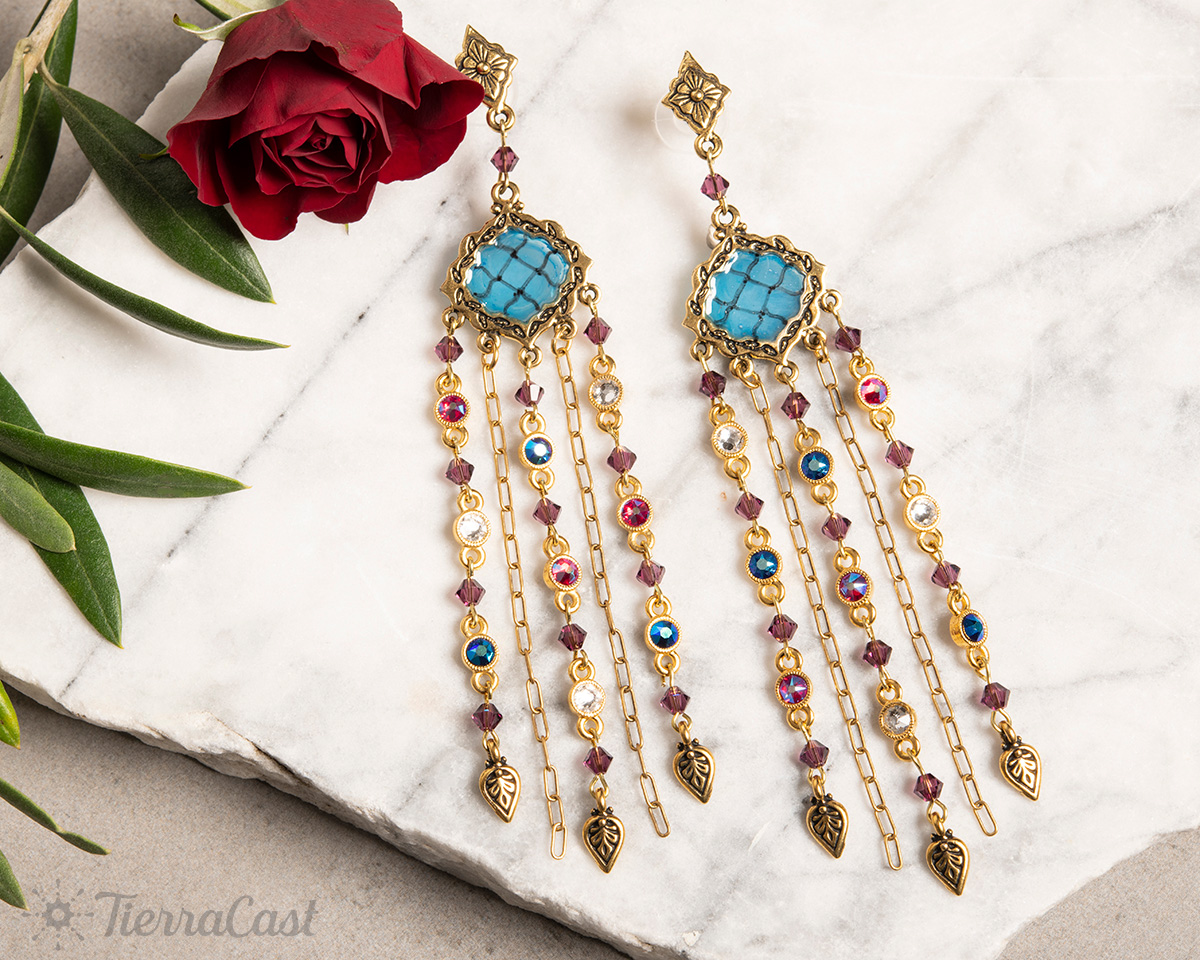
Supplies needed
- 2 Cathedral 5-1 Link (94-3245-26)
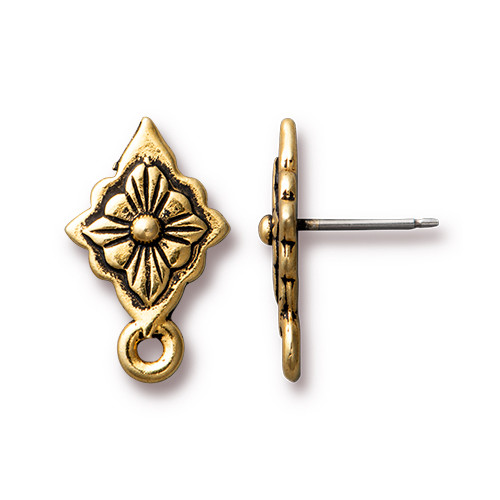
- 2 Reina Earring Post (94-1087-26)
- 6 Palmette Charm (94-2169-26)
- 12 Milgrained Two-sided SS16 Bezel Link (94-3235-25)
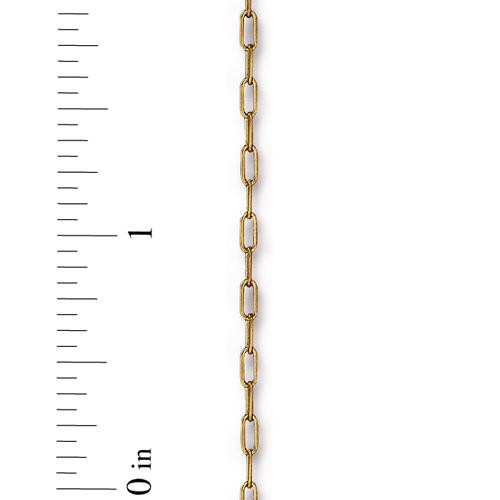
- 12" Brass Cable 2x6mm Chain (20-0925-26)
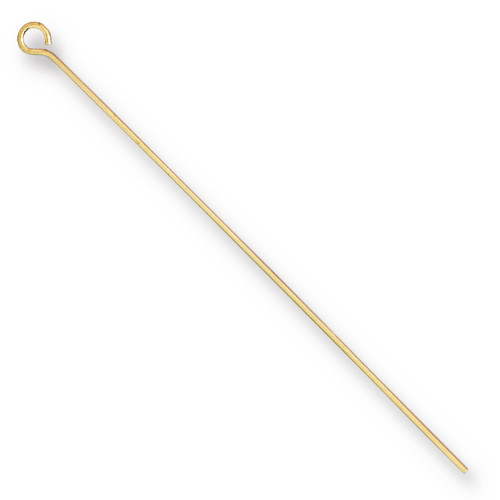
- 26 Eye Pin 2" 22ga (01-0035-09)
- 4 Oval Jump Ring 20ga 3x2mm ID (01-0016-09)
- 26 Austrian Crystal 5328 Bicone Bead, 4mm (Amethyst shown)
- 18 Austrian Crystal 2088 Flatback, SS16 in 3 colors (6 of each: Crystal, Lt Siam Shimmer and Cobalt Shimmer shown)
- Adhesive suitable for flatback crystals (2-part epoxy, G-S Hypo Cement, E-6000, or Gem-Tac)
- 2-part Epoxy Resin, such as Little Windows or ICE Resin
- Vintaj Ultimate Stain or other coloring agent suitable for resin
Tools
- chain nose pliers (2)
- round nose pliers
- wire cutters
- resin supplies (mixing cups, stir sticks)
- clear packing tape
- small portable flat work surface
- latex gloves
- cotton swabs or tissues
- optional: fine tip permanent marker in dark gray
Skill Level: Intermediate
Finished Size: Approx. 5"
Designer: Tracy Proctor
Download the Cathedral Stained Glass Earrings PDF
Watch the Demo Video: Cathedral Stained Glass Earring Jewelry Making Demo
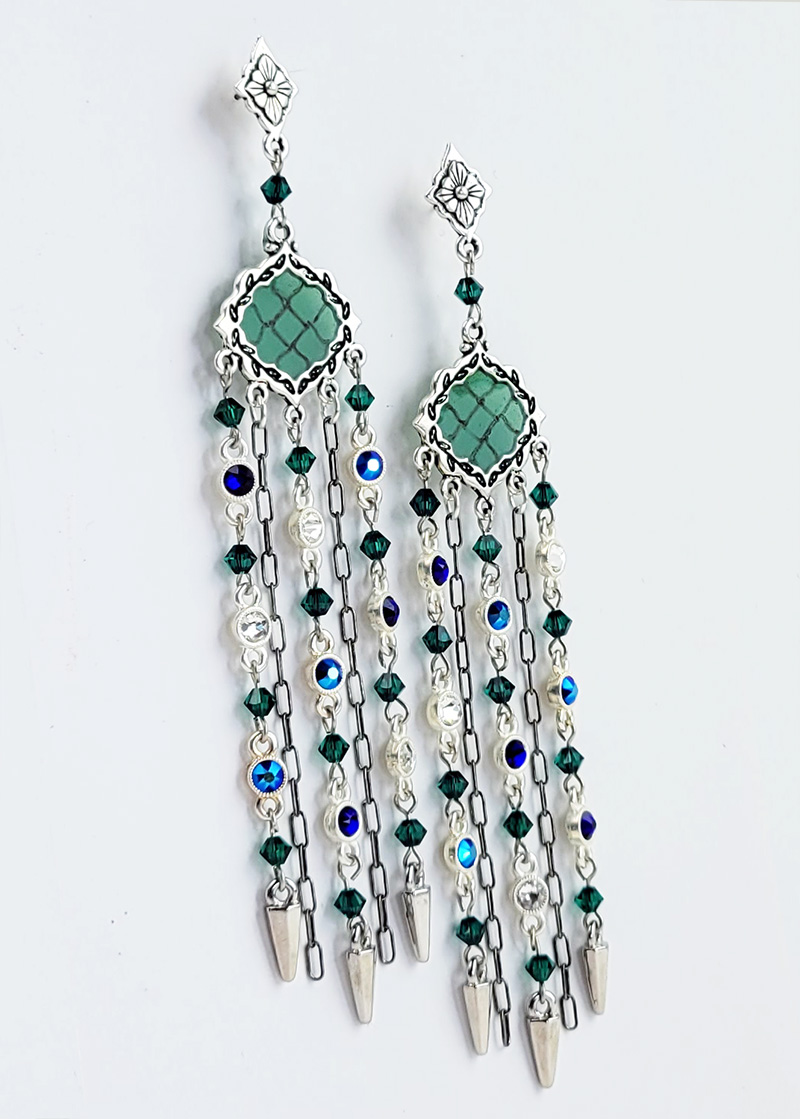
Variation with 1/2" Dagger Charms (94-2510)
Watch our technique videos TierraCast Blog (look for Simple Loops and Jump Rings).
Tips:
- For best results follow epoxy resin instructions carefully. Mix slowly and gently to avoid creating bubbles.
- Other coloring agents can be used but the Ultimate Stain results in good translucency.
- When working with resin and adhesives always use good ventilation!
- When creating the bicone links, instead of using a new eye pin for each bead use the trimmed wire pieces to create new ones.
Steps
- Preparation: Use adhesive to glue the flatback crystals into the SS16 bezels. Set aside and allow to dry.
- Clean the 5-1 links with a quick rinse in soapy water or with some rubbing alcohol. Allow to dry.
- Working on portable work surface, tear off a 3" piece of packing tape. Fold one edge over about 1/2" for ease of handling. Place both links down onto sticky side of the tape. Press down firmly to ensure good adhesion.
- Following epoxy resin instructions carefully, measure and mix 1/2 oz of resin. Add 2-3 drops of color and mix in slowly. Add more if needed until desired tint is achieved.
- Apply drops of resin into links, allowing to self-level and adding enough to create a flat, not domed, surface. Set aside and allow to cure for a minimum of 12 hours. (Cover with a plastic container to protect from dust or interference while curing.)
- Optional: use fine tip marker to create a "leaded glass" design on the back of the resin pieces. (Plan your design and practice beforehand.)
- String 1 bicone onto 1 eye pin. Protecting top of crystal with thumbnail, bend wire over at top of bead. Trim wire to about 5/16" and use round nose pliers to form a small simple loop. Repeat 25 times. Use two pair of pliers to align the loops on 20 of the links (A link). On remaining 6 position loops perpendicular to each other (B link). Set aside.
- Cut chain into four 3" pieces. Set aside.
- Assembly: *Pick up 1 A bicone link and open loop at one side. Attach to an outer loop of one 5-1 link, then close loop. Open loop at other end of bicone link and attach 1 SS16 link, making sure crystal is facing forward. Close loop.* Repeat * through * twice more, adding the different colored SS16 links in desired order.
- Pick up 1 B bicone link and attach to last SS16 link placed in Step 9. Attach 1 charm on other side of B link.
- Repeat Steps 9-10 on center loop of 5-1 link, and again on outer loop on other side of link.
- Open 1 jump ring and attach to 5-1 loop between two crystal strands. Before closing attach 1 piece of chain. Close jump ring. Repeat with second jump ring and piece of chain on remaining 5-1 loop.
- Attach 1 A link to top of 5-1 link. Open loop on other side and attach earring post, making sure it is facing forward. Close loop.
- Repeat Steps 9-13 for second earring.
